• Question Question
Old gas lighting pipes all over the house – how do I cap them?

Hey folks! Not sure if this counts as plumbing, but figured I’d ask here.

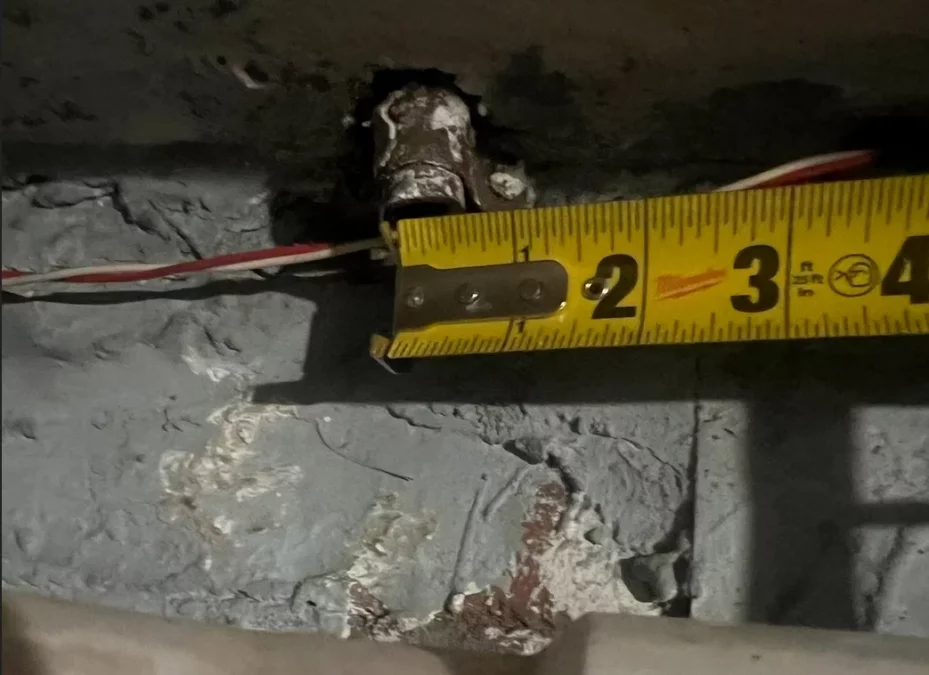
Just moved into an 1880s Queen Anne house that still has the original gas lighting setup. There are a bunch of 1/2" gas pipes sticking out of the walls and ceilings — looks like they used to be for sconces and chandeliers. They all connect to the same gas line as the fireplaces.

Right now, the gas is shut off, but if I turn the valve back on, gas would come out of all these open pipes.

What I want: Use the fireplaces like they were meant to be used.
The problem: I need to cap off all these open pipes (they're not threaded), and then pressure test everything to make sure there aren’t any leaks hiding in the walls or ceilings.

Anyone done this before? Best way to cap them? Anything I should watch out for safety-wise?

1750689464244.webp

What’s the ONE tool you’d never lend out — and why?

You can be generous with clamps and extension cords…
But what’s the one tool you refuse to lend, no matter who asks — brother-in-law, best friend, or even your dad?

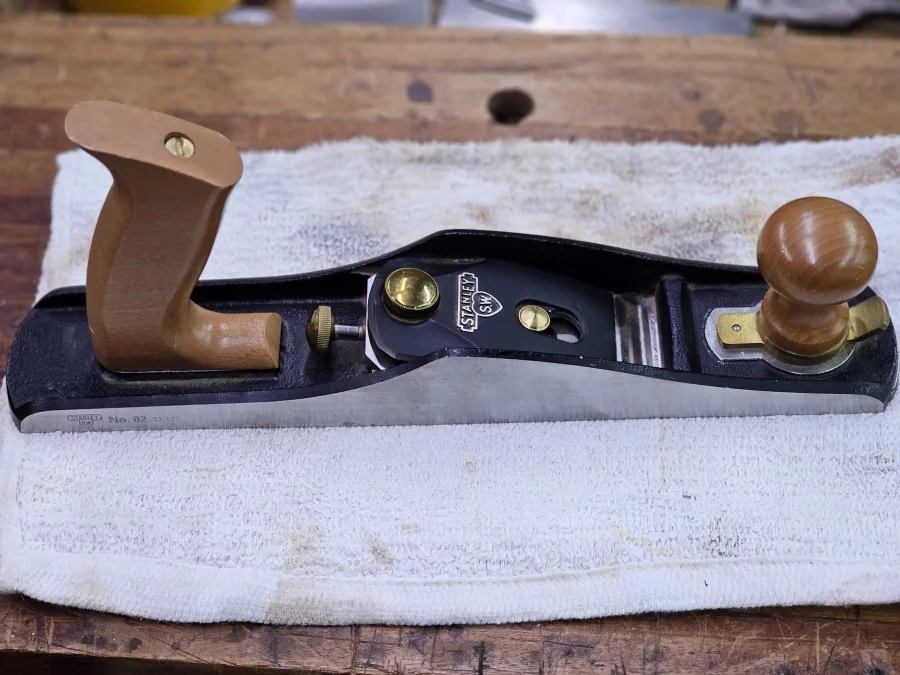
I’ll go first: my vintage Stanley No. 62 low angle jack plane. I spent weeks restoring it, and the sole is flat to 0.001”. Someone drops it, I cry.
Stanley No. 62 low angle jack plane

Bonus points if you've got a story about a time you did lend something and lived to regret it.

Let’s hear it — the sacred tools you guard with your life.

  • Article Article
Guide Gutter Cleaning: Why It Matters, When to Do It, and How to Get It Right

Gutter Cleaning tips
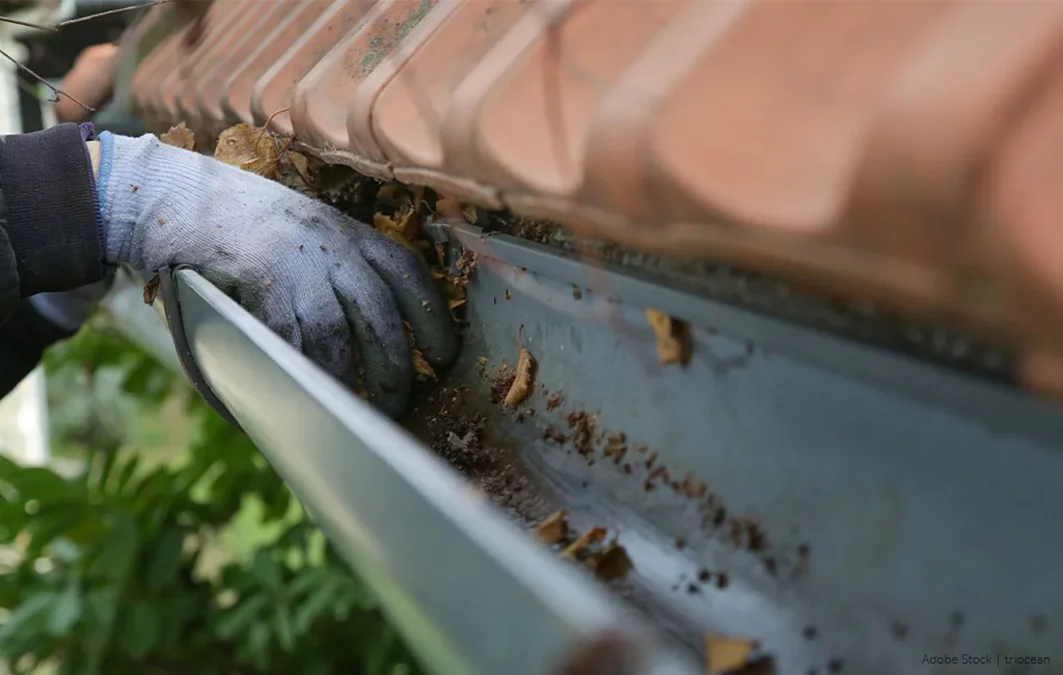
Cleaning out gutters might not be anyone’s favorite weekend project, but it’s one of those essential maintenance tasks that can save you a lot of trouble (and money) down the road. When gutters get clogged with leaves, dirt, or roof debris, water stops flowing properly — and that can spell trouble for your siding, foundation, or even your basement.

Thankfully, this is one of those jobs that most homeowners can handle themselves with a little prep and some basic tools. Below, we’ll walk you through why it matters, how often to do it, and how to tackle the job safely and effectively.


Why Keeping Your Gutters Clean Is Critical​


Gutters are designed to route rainwater away from your home. But when they get blocked, that water has to go somewhere. Usually, it ends up spilling over the sides, running down your exterior walls, pooling near the foundation, or seeping into the basement. Over time, this can lead to:
  • Water damage to siding and fascia
  • Mold and mildew growth near the roofline
  • Rotting wood along roof edges
  • Foundation erosion or basement leaks
Simply put: clean gutters protect your house from water in places it’s not supposed to be.


How Often Should You Clean Your Gutters?​


As a general rule, twice a year is the minimum — once in late fall after most of the leaves have dropped, and again in spring to clear out winter debris. That said, if you’ve got trees hanging over your roof, you may need to clean them more often. Also, after major storms or heavy winds, it’s worth doing a quick check to see if anything has clogged the system.


Safety First: Prep Before You Climb​


Before you get started, make sure you’ve got a safe setup. Gutter cleaning often means working at height, so stability and caution are key. Here are some basics:

  • Use a sturdy ladder placed on level, non-slip ground. If possible, have someone nearby to spot you.
  • Avoid working in wet or windy conditions — the risk of slipping is much higher.
  • Wear gloves and safety glasses to protect from debris, sharp edges, and nesting surprises.
  • Wear shoes with good grip if you’re climbing.
If your gutters are too high to reach safely with a ladder, don’t take unnecessary risks. It may be time to call in help or look into safe alternatives.


Tools and Techniques: By Hand or With Help?​

Gutter Cleaning tips

There’s no one “right” way to clean gutters — the best method depends on your setup and how dirty they are.

Manual Cleaning (The Classic Way)


For moderate debris, this is often the simplest option:
  • Climb the ladder carefully.
  • Use gloves to scoop out debris into a bucket.
  • Use a small brush or hand broom to scrub out any stubborn buildup.
  • Rinse with a hose to check for flow and flush out the remaining dirt.
Gutter Cleaning tips

Cleaning From the Ground (Telescopic Tools)


If your gutters are reachable from the ground (typically single-story homes), there are long-handled tools and extension kits that let you remove debris without climbing. Some use airflow to blow out leaves, others use water pressure. Choose what feels safest and most manageable for you.

Water-Powered Tools for Stubborn Build-Up


If your gutters have compacted debris or moss, a hose with an angled nozzle or a low-pressure washer can help break things loose. Just make sure the force isn’t too high — gutters aren’t built to take the blast of a full-size power washer.


Don’t Forget the Downspouts​

Gutter Cleaning tips

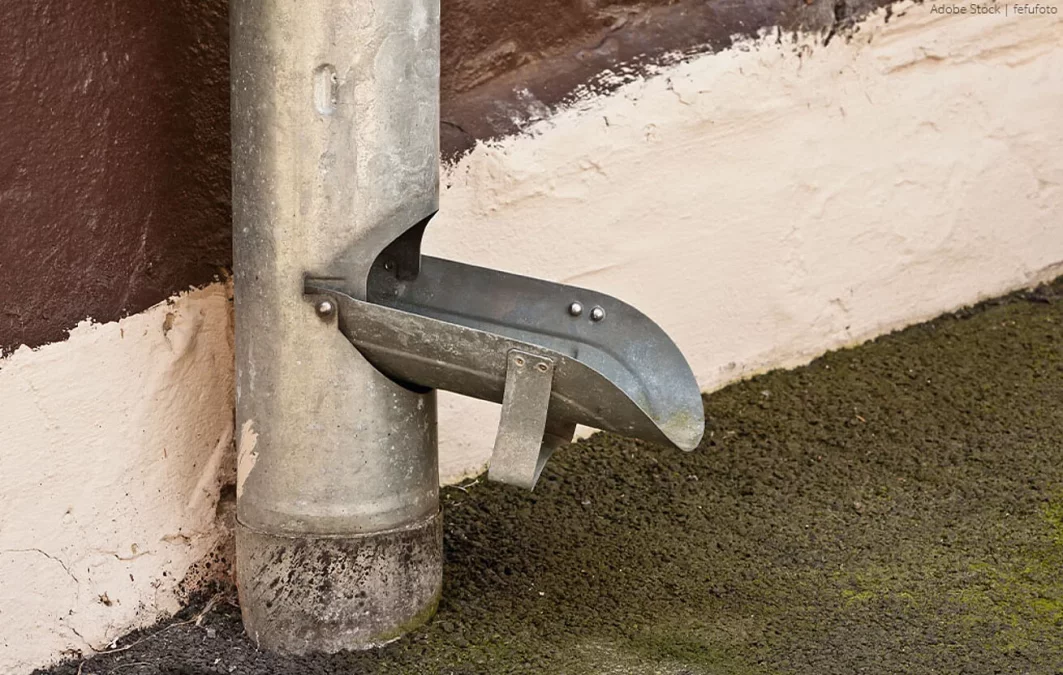
Cleaning the gutters is only half the job — if the downspouts are blocked, water still can’t go anywhere.

Here’s what to know:
  • Downspouts often clog near the bottom or at bends. If water doesn’t come through when you flush the gutter, there’s likely a blockage.
  • If accessible, detach the bottom elbow and clear it manually.
  • For enclosed pipes, there are flexible pipe-cleaning attachments that can help clear out blockages from the inside.
  • Once cleared, flush the system with water to confirm everything’s flowing as it should.


Keeping Gutters Clear: Prevention Tips​


Regular inspections are the best way to stay ahead of problems. Walk around your home every few months and after storms — check for sagging sections, overflowing water, or signs of mold or staining on the siding.

If leaves are a recurring issue, consider installing mesh guards or screens. These don’t eliminate maintenance entirely but can significantly reduce the frequency of cleaning.


Final Thoughts​


Cleaning gutters isn’t glamorous, but it’s a small task that goes a long way toward protecting your home. With some basic tools, a little time, and the right safety approach, you can take care of it yourself — no contractors needed. Make it part of your spring and fall maintenance routine, and you’ll be ahead of most homeowners.

And remember: it’s always better to check your gutters one time too many than one time too late.
Why I don’t buy cheap tools anymore

Bought a budget angle grinder on sale last fall. Thought I was smart.
6 weeks later: switch stuck, housing cracked after a 2-foot drop, bearings started screaming like banshees.

I returned it and bought a Makita. Night and day.

I get the appeal of Harbor Freight when you’re starting out, but if you use a tool more than 3x a year, just get something decent. You’ll save money and swearing in the long run.

Before/After DIY TV-wall for a living-room [20 Photos]

DIY TV-wall for a living-room
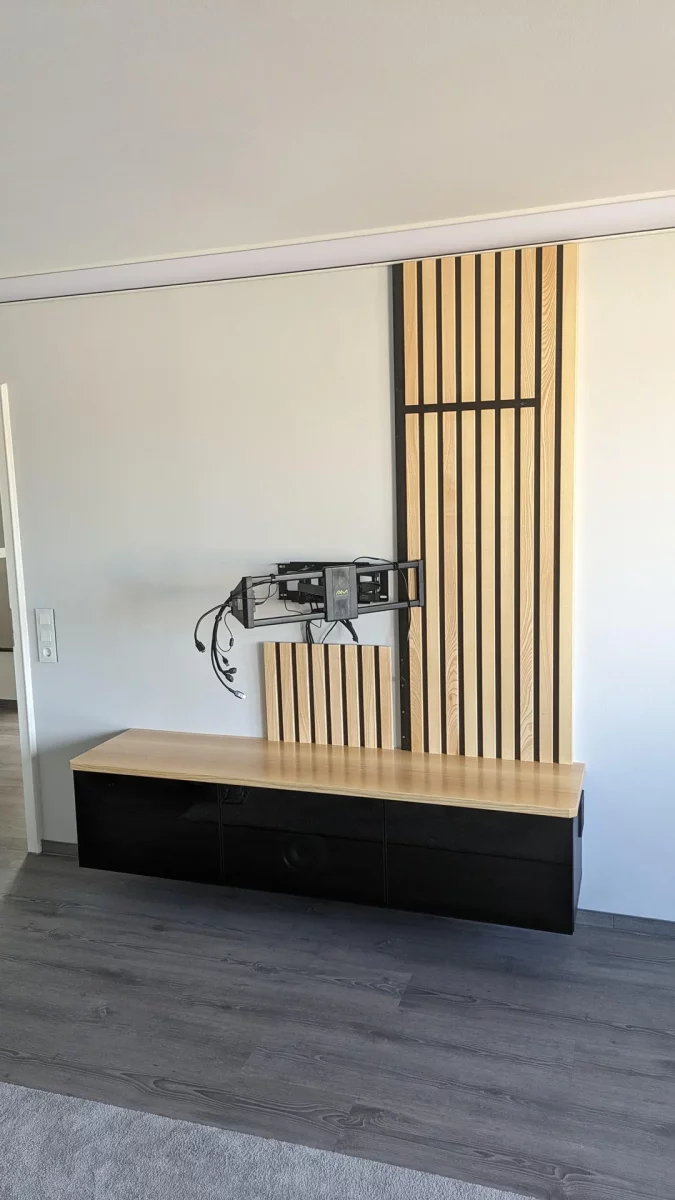
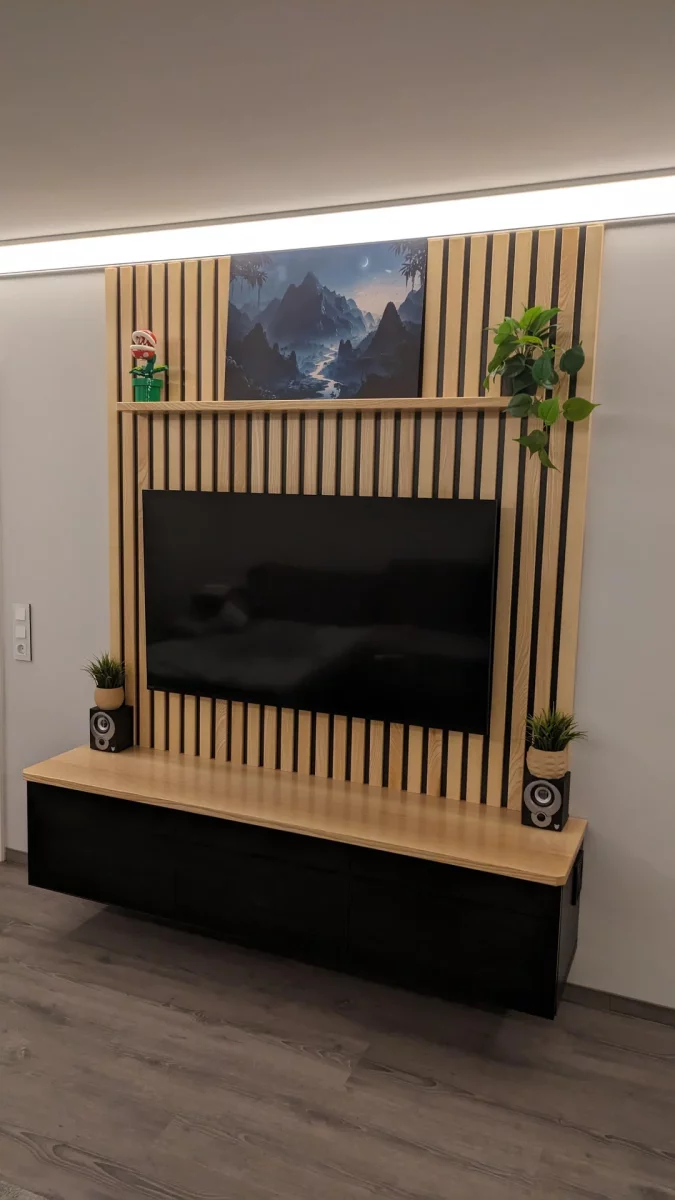
According to iBeryl, his old TV setup had followed him through several moves, always landing in the same familiar configuration. But after moving into a larger home, that once-comfortable setup started to feel out of place — the TV looked too small in the bigger room, the angled legs were a pain to clean around, and the cable clutter was getting on his nerves. So, he decided to build a proper TV wall to fix all of it in one go.

DIY TV-wall for a living-room
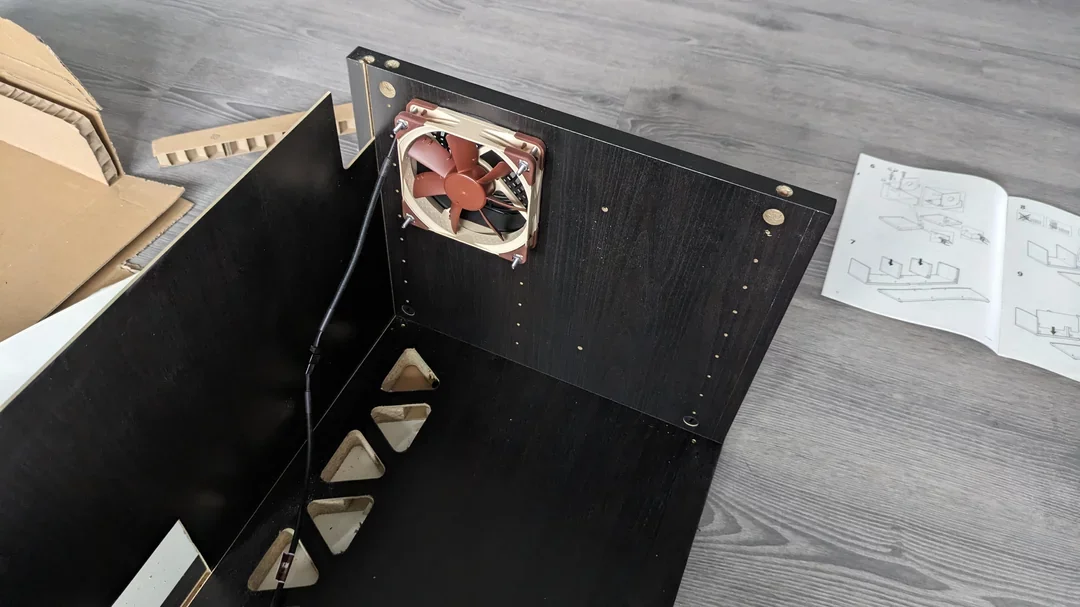
📸 Pic 2: The previous setup used a black Ikea Besta unit, a 42" TV, and speakers that didn’t fit properly, ending up partly behind the screen. Dust was a constant issue, the black surfaces made it worse, and the consoles had trouble staying cool inside the tight space.
DIY TV-wall for a living-roomDIY TV-wall for a living-room
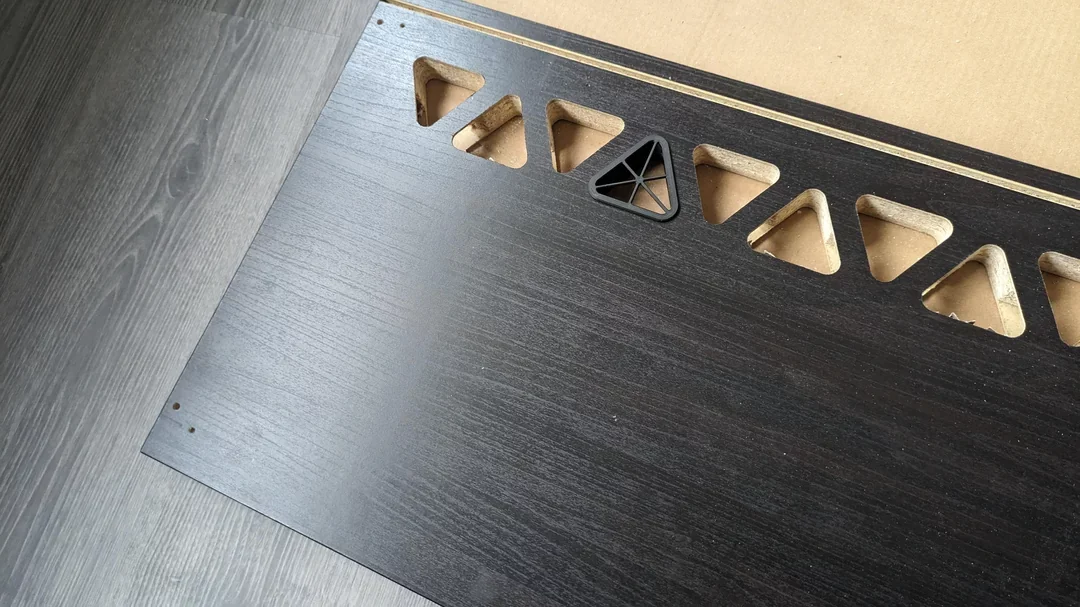
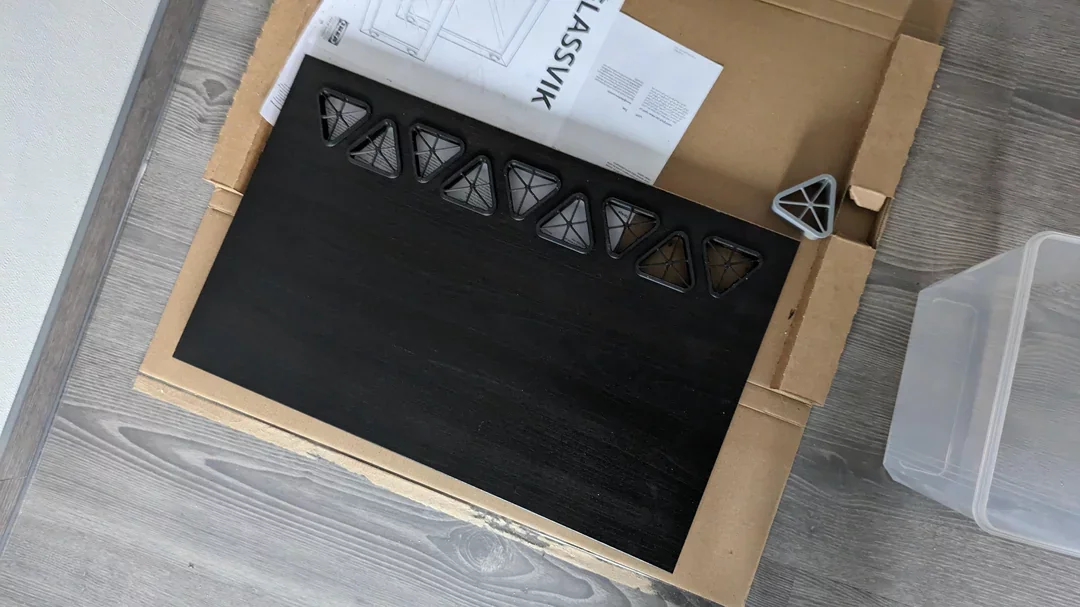
📸 Pics 3–4: He picked up a wider Besta unit — considered building one himself but couldn’t find affordable smoked glass options. He cut out triangles in the bottom panels to allow for airflow, then designed and 3D-printed covers with anti-dust mesh (which, unfortunately, didn’t make it into the photos).
DIY TV-wall for a living-roomDIY TV-wall for a living-room
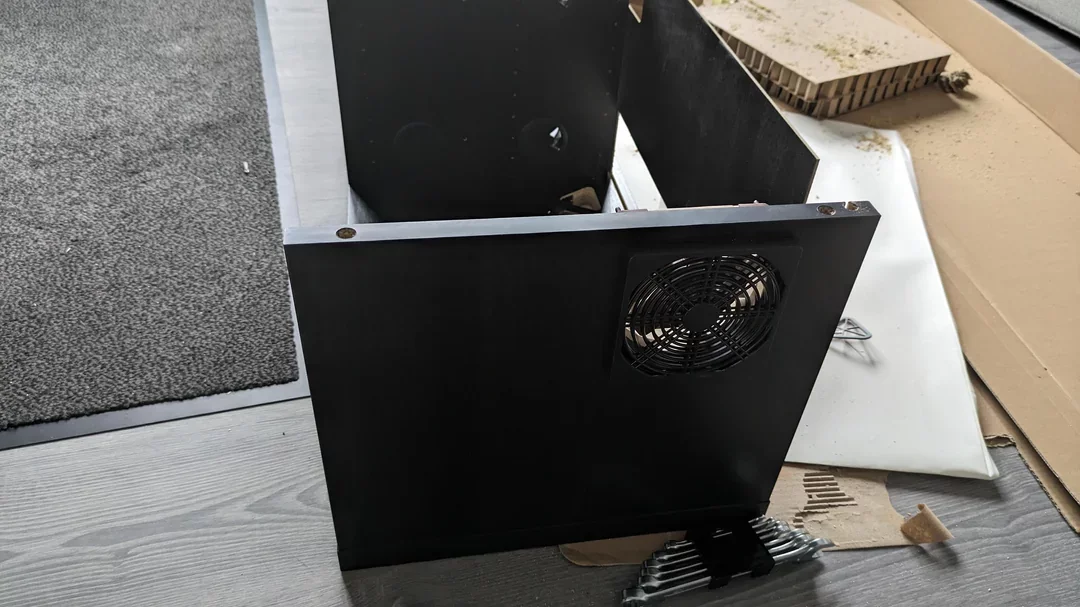
📸 Pics 5–6: Cooling was handled with a pair of Noctua fans installed into the cabinet sides. They’re connected to a temperature sensor and automatically kick in when things heat up. The side cutouts were finished with clean, custom covers.
DIY TV-wall for a living-room
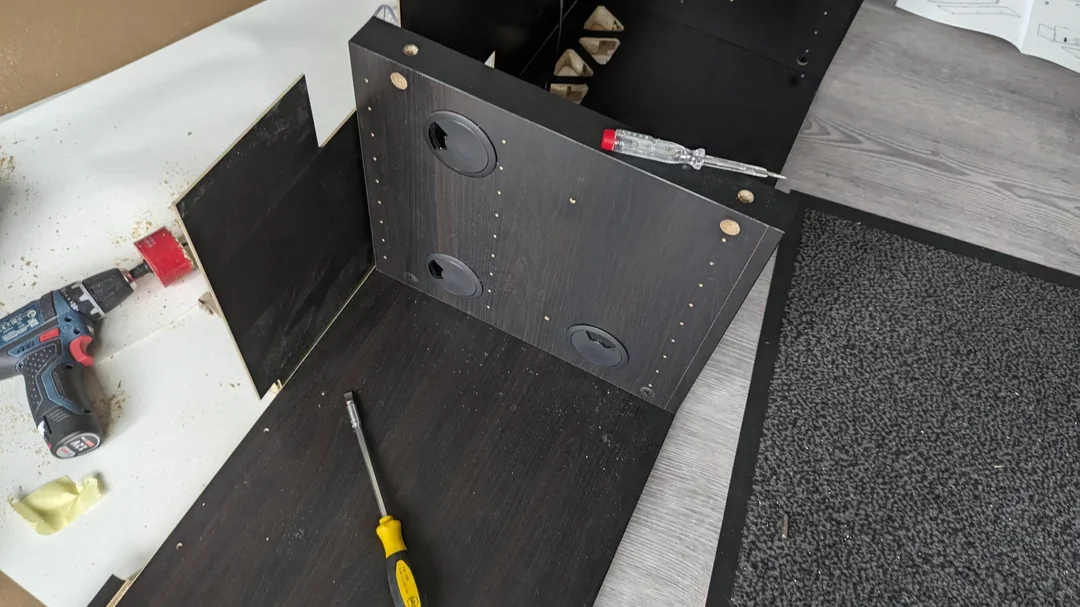
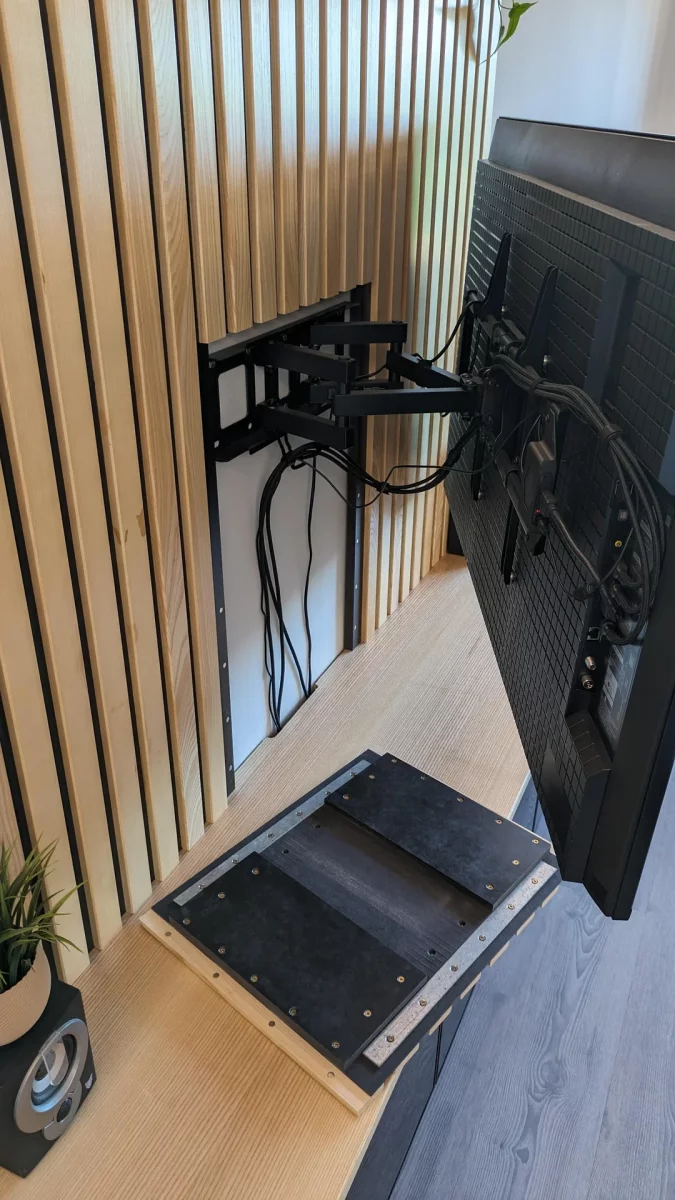
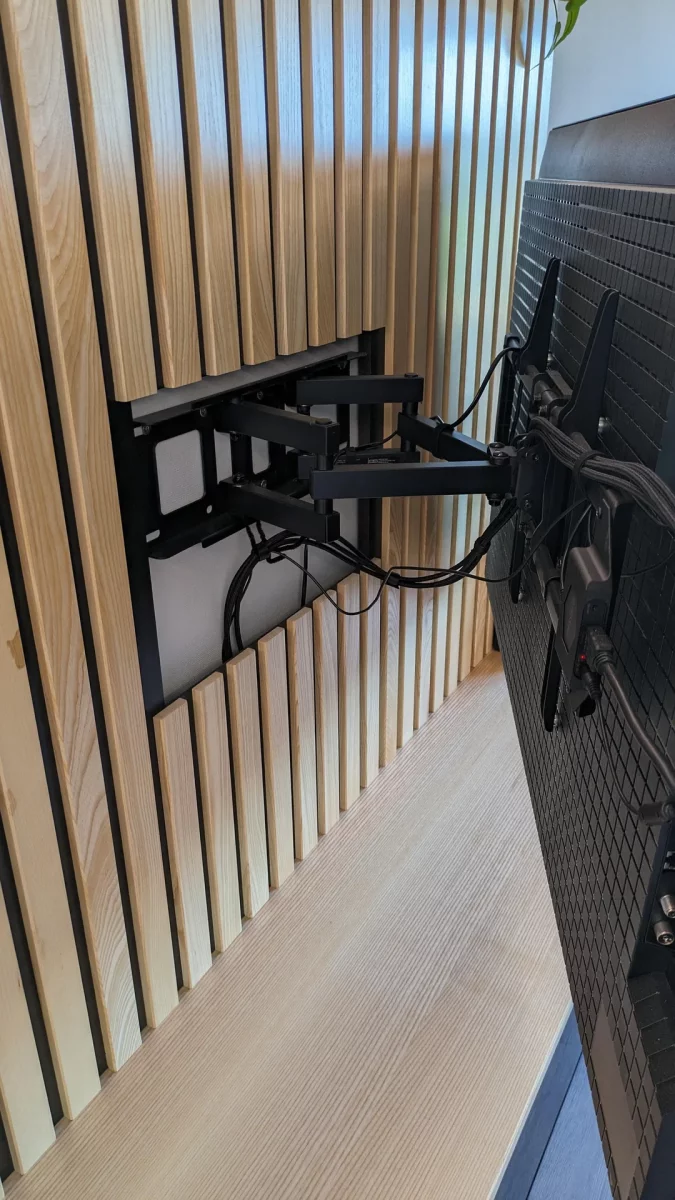
📸 Pic 7: Cable management got a major upgrade with internal wall holes and custom modular covers that let cables pass through while hiding the hollow areas.
DIY TV-wall for a living-roomDIY TV-wall for a living-room
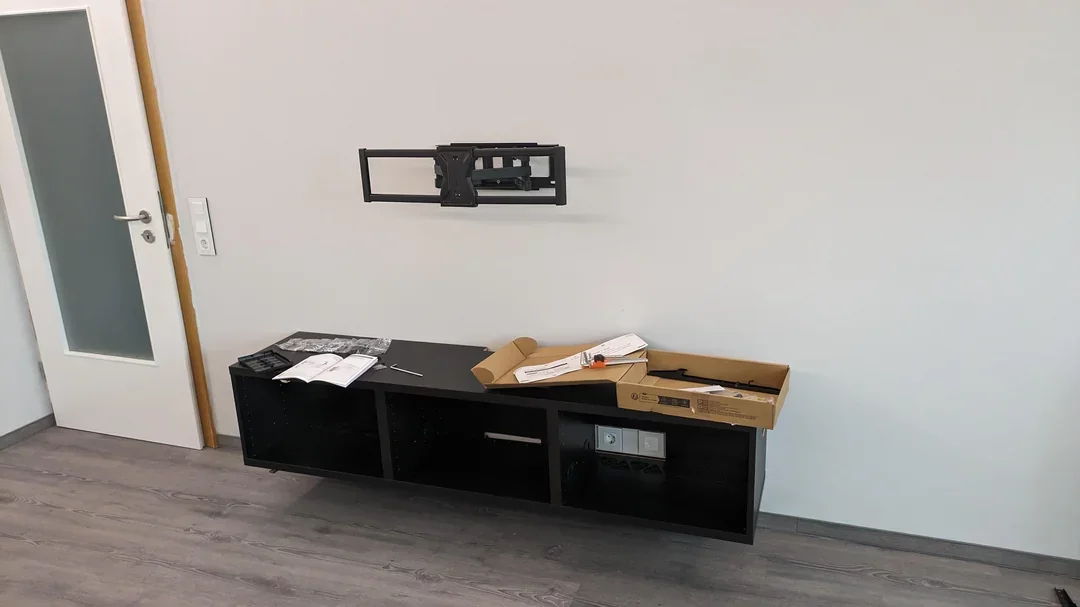
📸 Pics 8–10: The back wall was mounted — socket area cut out, TV bracket installed, and an initial dry fit done. Still, it looked too dark and empty, with cables visible everywhere.
DIY TV-wall for a living-roomDIY TV-wall for a living-room
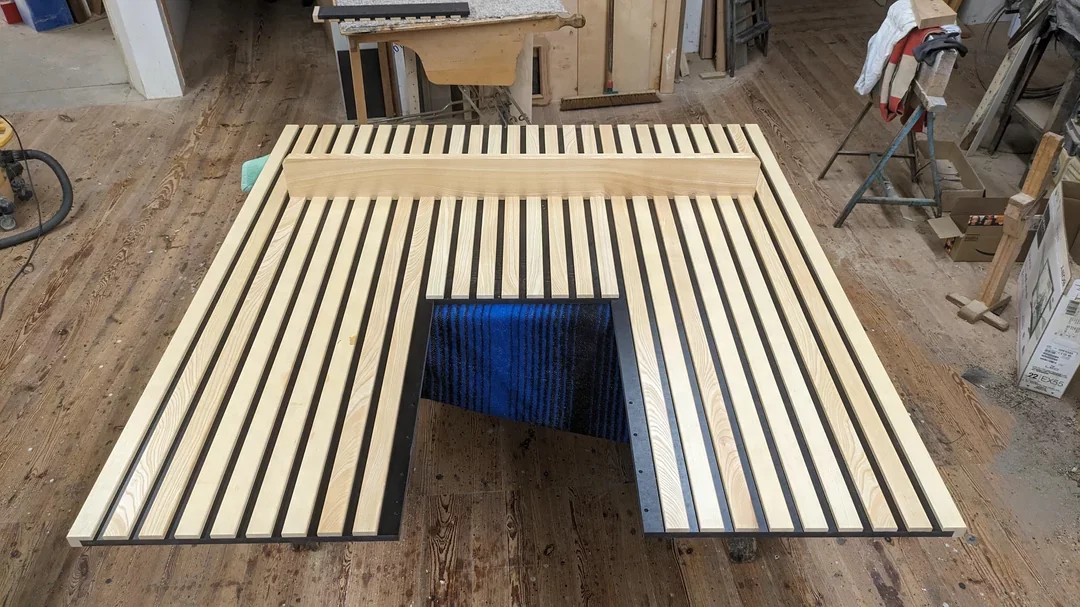
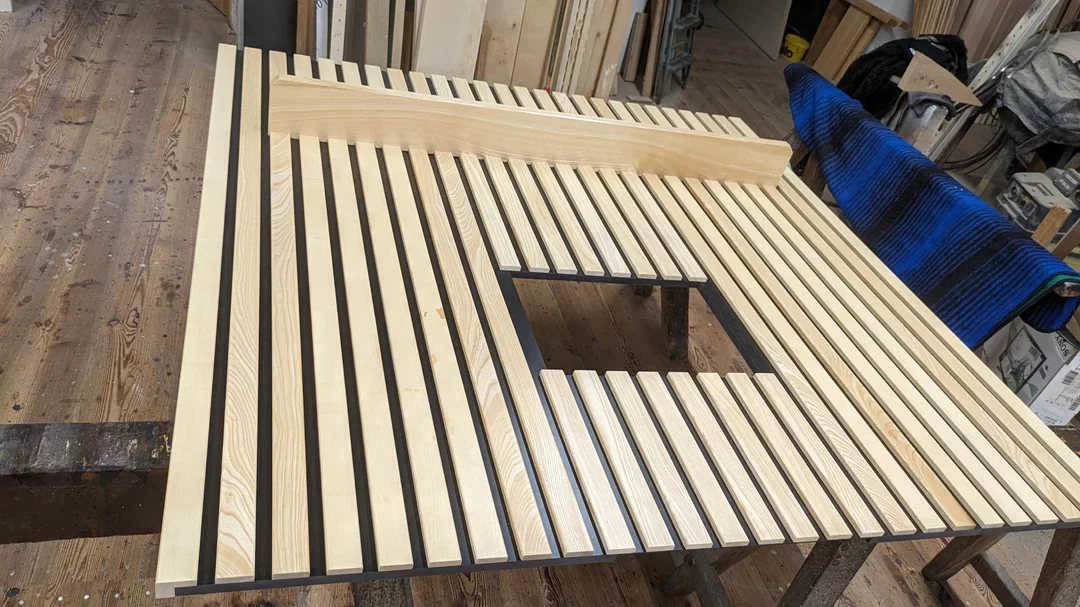
📸 Pics 11–12: To solve that, he made a custom black MDF backboard, divided into three sections with added light-ash wood strips to mimic the look of acoustic panels. A shelf was also added to tie everything together and add strength.
DIY TV-wall for a living-roomDIY TV-wall for a living-room
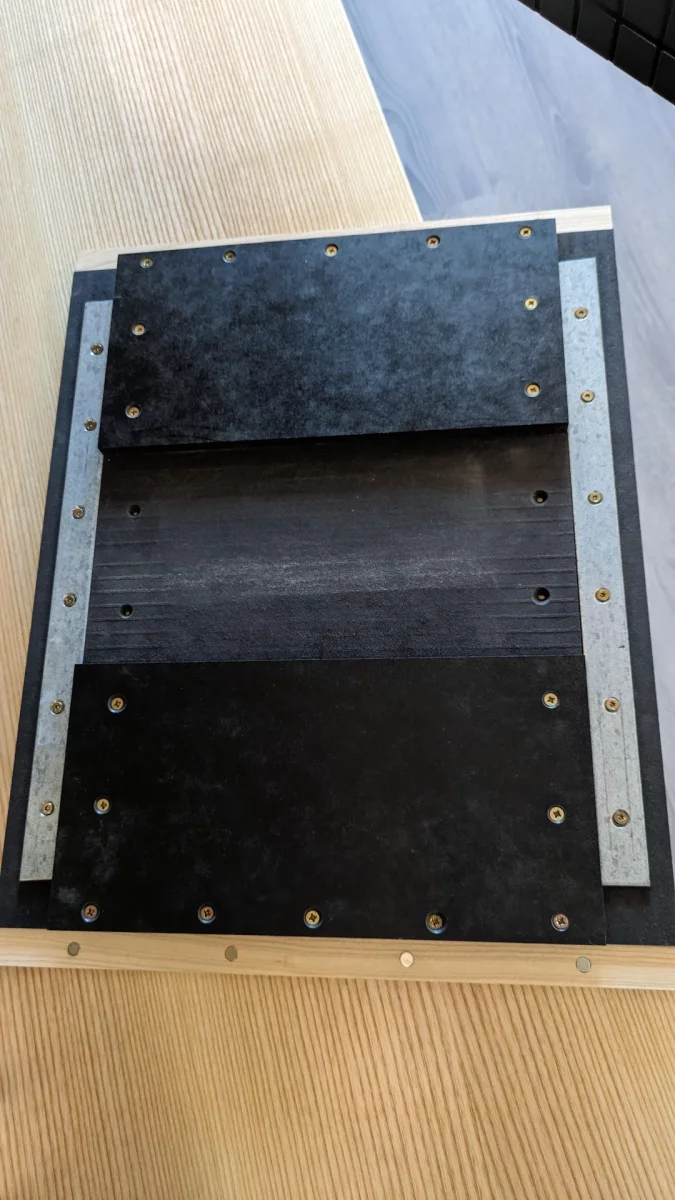
📸 Pics 13–16: He then built a matching light-ash countertop and a black MDF cable cover to hide the mess. Reinforced with metal strips and magnet-mounted, the cover snaps into place cleanly and stays rigid.
DIY TV-wall for a living-room
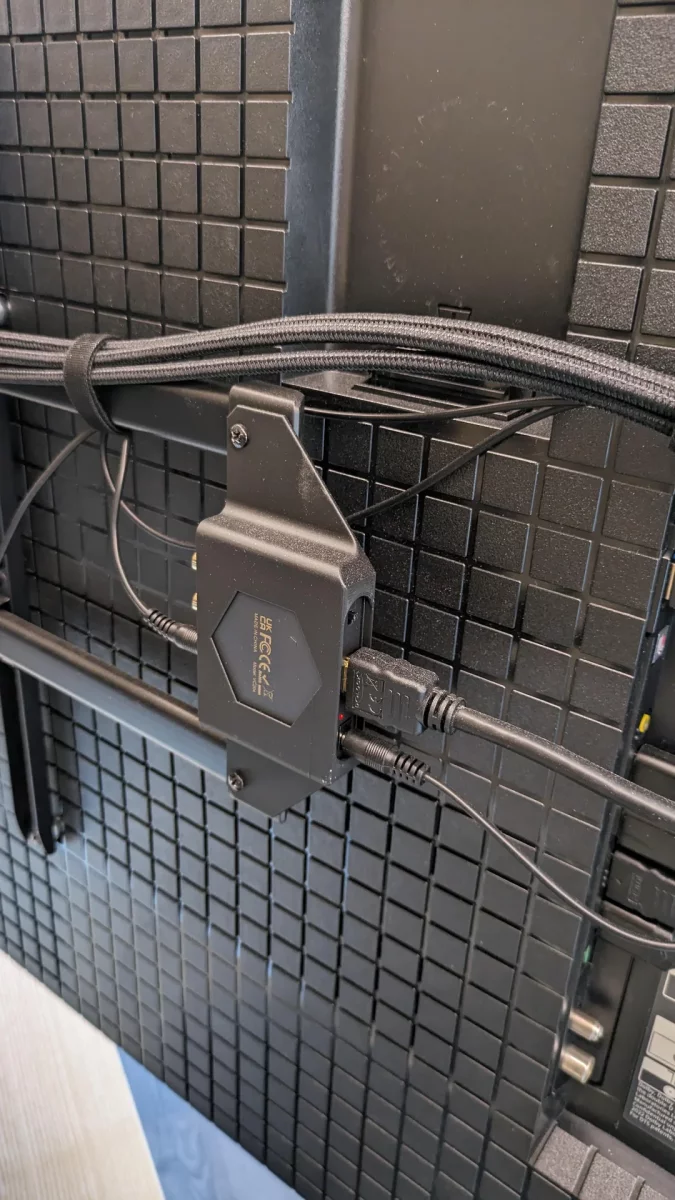
📸 Pic 17: For audio setup, a specific extractor was needed — so he 3D-printed a bracket to mount it invisibly behind the TV.
DIY TV-wall for a living-room

DIY TV-wall for a living-roomDIY TV-wall for a living-room
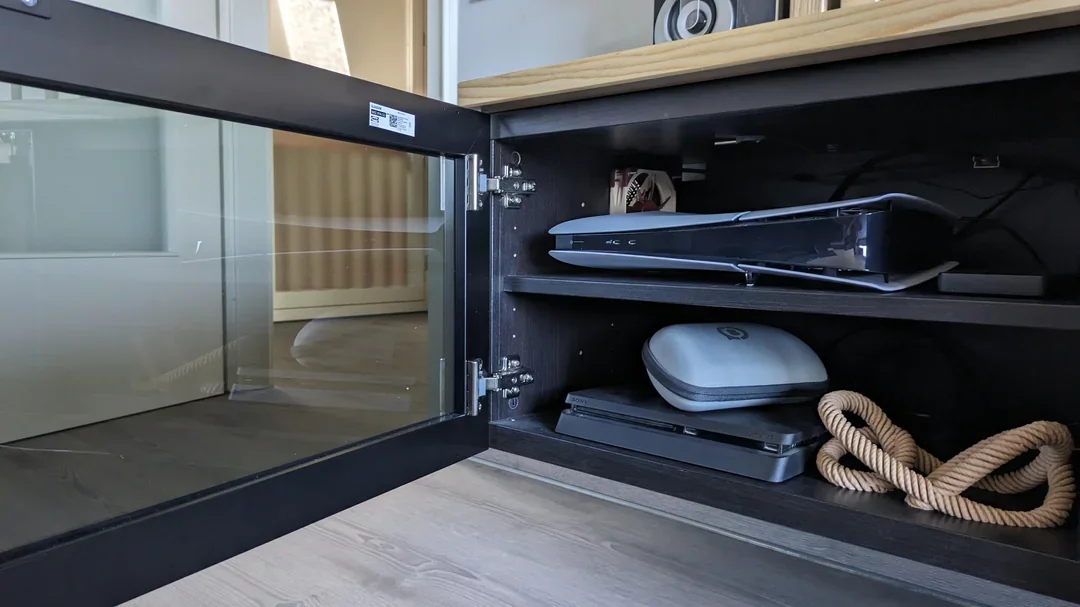
📸 Pic 18: All electronics live inside the cabinet now. Above the PS5 is a heat sensor that activates the fans once it hits 35°C, cooling things down to ~30°C. When powered off, the fans stop at around 27°C — all fully automated.
DIY TV-wall for a living-roomDIY TV-wall for a living-room
📸 Pics 19–20: The final result: a sleek, modern setup with hidden tech, better airflow, no visible cables, and no clutter on the floor. iBeryl admits he’s still working on decoration, but the core project is done — and the space finally feels like it fits the home.

Credit: iBeryl

Review Rockler’s Drawer Slide Jig – Worth It or Gimmick?

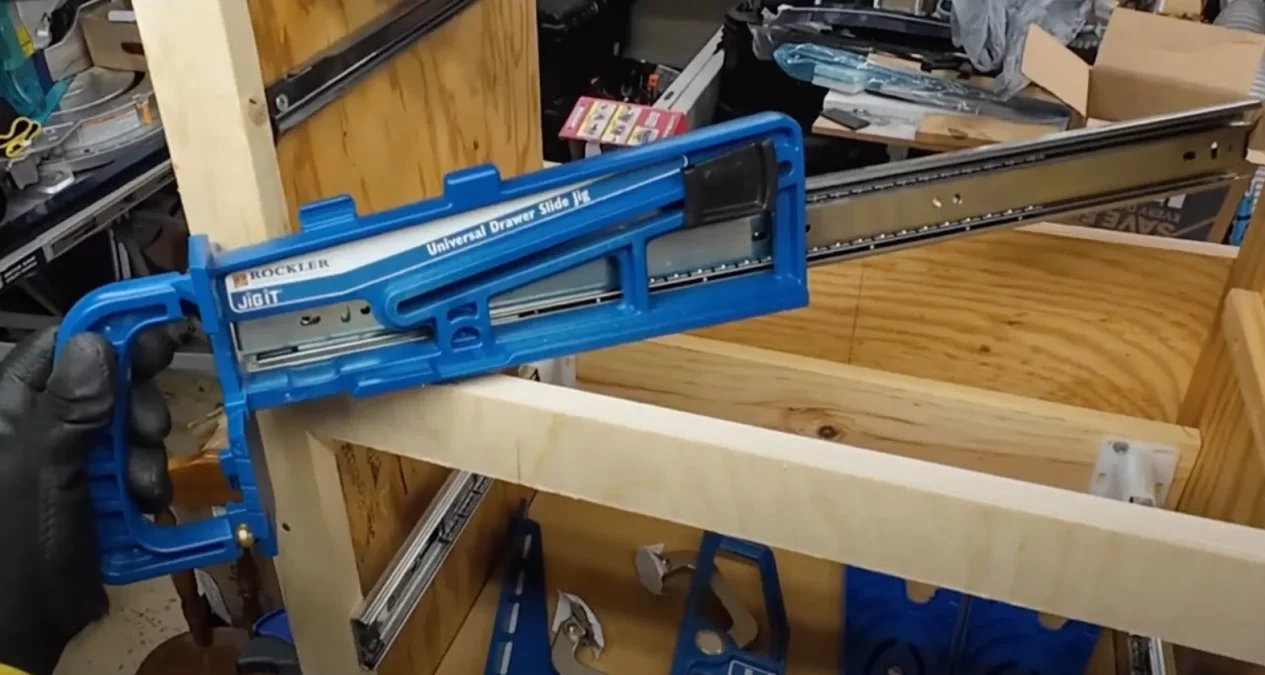
Rockler’s Drawer Slide Jig Got this jig last week because I was sick of misaligned drawer slides. On first try — holy crap, why didn’t I buy this sooner.

Pros:
  • Magnetic arms snap right to metal slides
  • Keeps everything square in both planes
  • Saves so much fiddling and cursing
Cons:
  • A bit bulky in tight cabinets
  • Plastic feels a little fragile for the price ($30+)
Still, even for a small shop, it’s a massive time-saver. Definitely recommend if you're installing more than 2 drawers a year.

  • Article Article
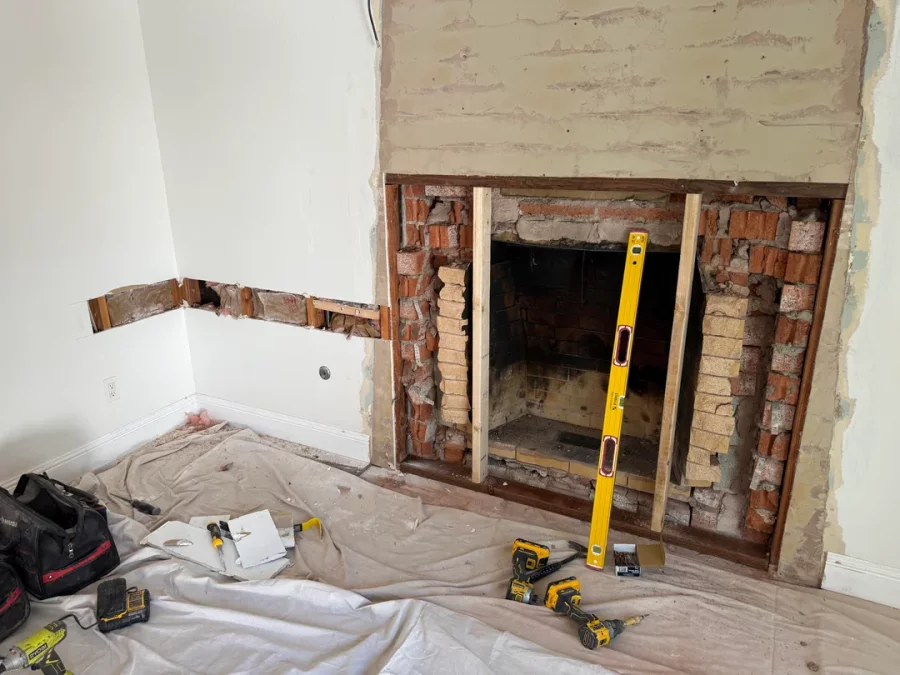
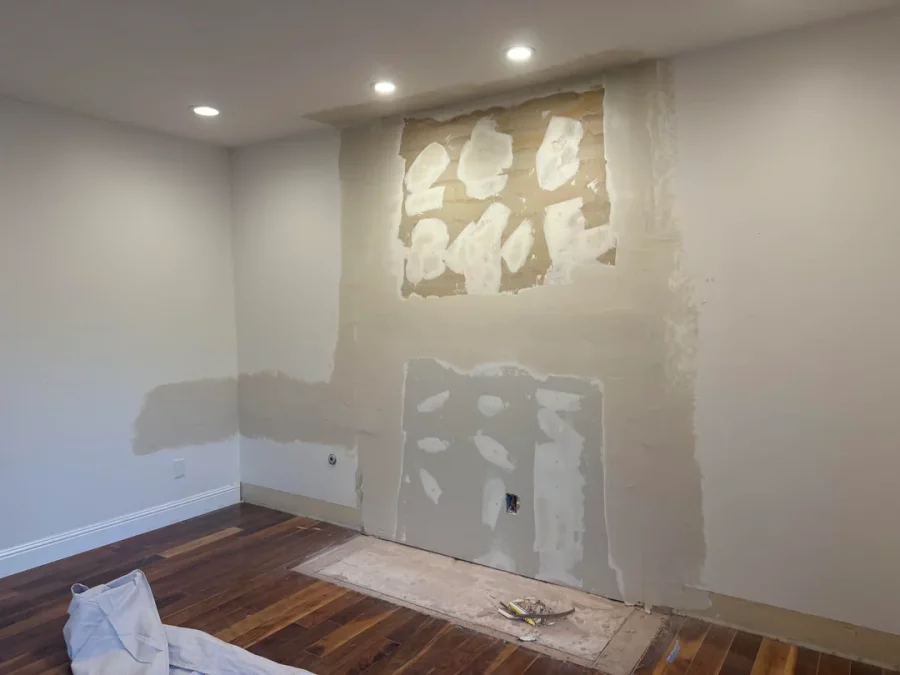
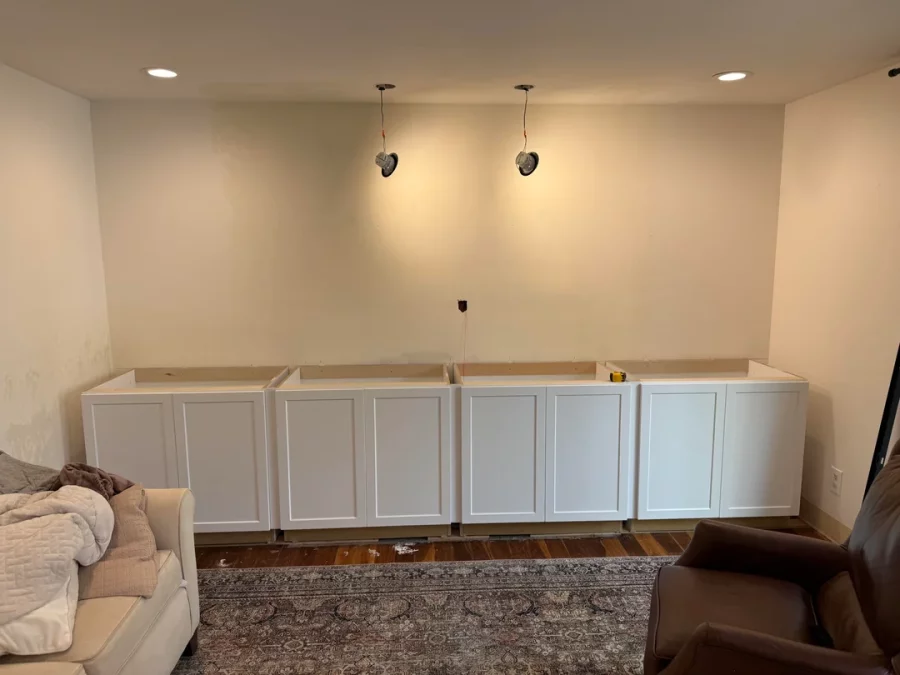
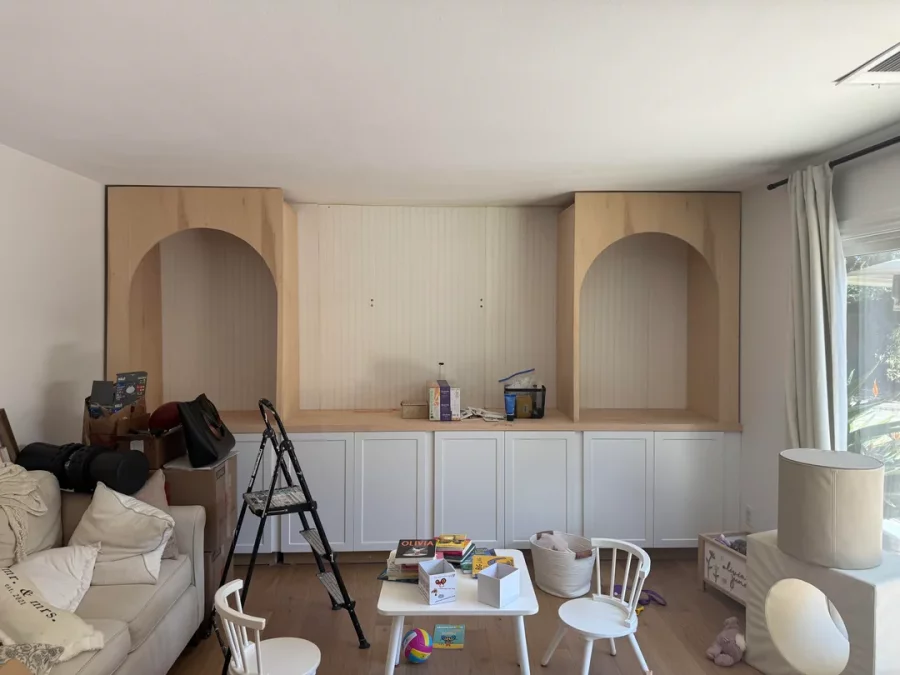
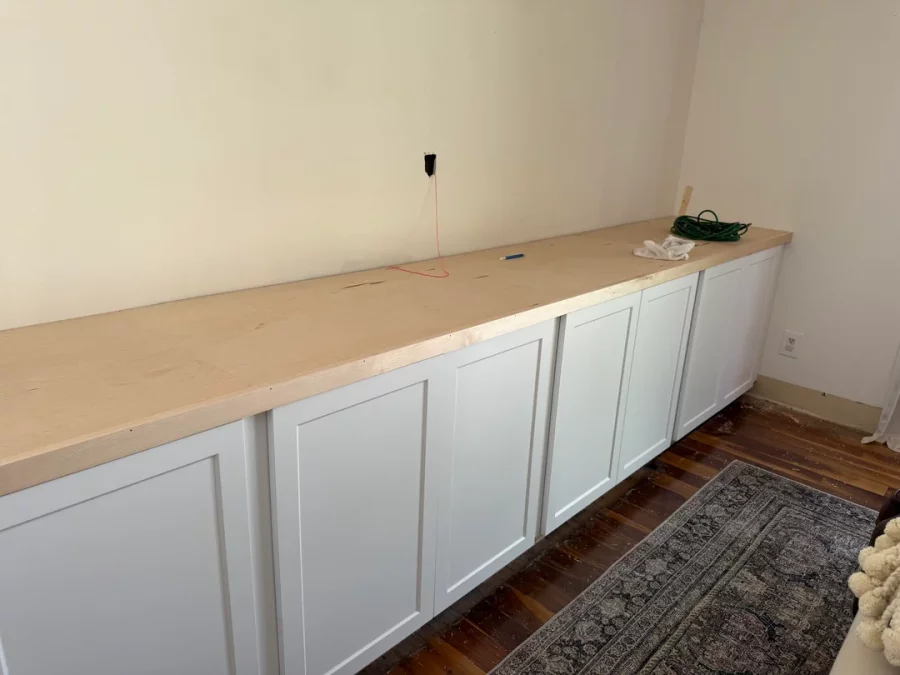
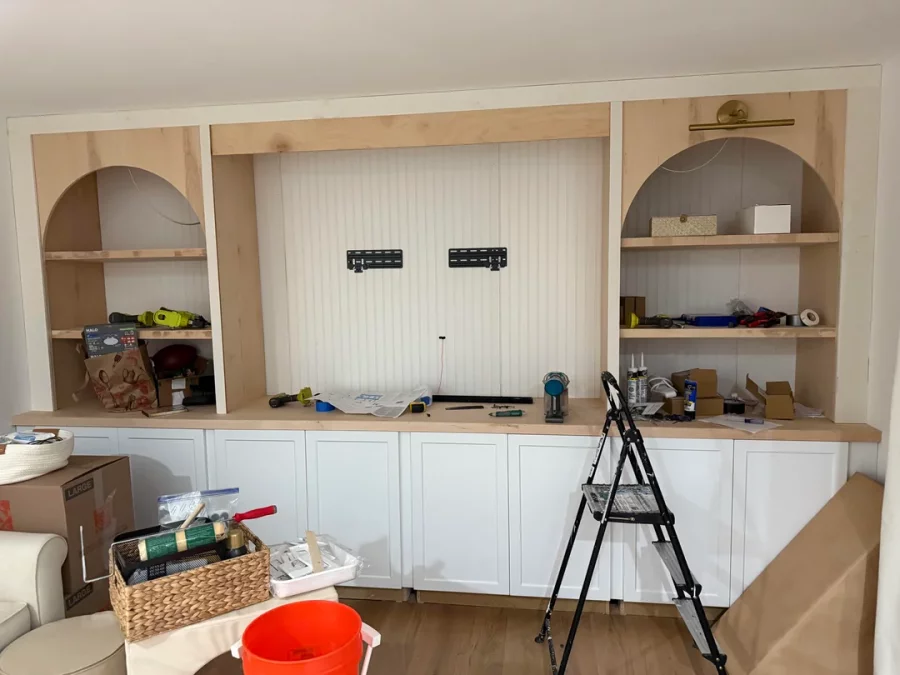
Before/After Fireplace demolition and the installation of custom cabinetry and shelving in its place [9 Photos]

Fireplace demolition and the installation of custom cabinetry and shelving in its placeFireplace demolition and the installation of custom cabinetry and shelving in its placeFireplace demolition and the installation of custom cabinetry and shelving in its placeFireplace demolition and the installation of custom cabinetry and shelving in its placeFireplace demolition and the installation of custom cabinetry and shelving in its placeFireplace demolition and the installation of custom cabinetry and shelving in its placeFireplace demolition and the installation of custom cabinetry and shelving in its placeFireplace demolition and the installation of custom cabinetry and shelving in its placeFireplace demolition and the installation of custom cabinetry and shelving in its place
I didn’t do the new engineered hardwood floors

But I did the cabinets, arches, shelves, bead board, electrical, etc.

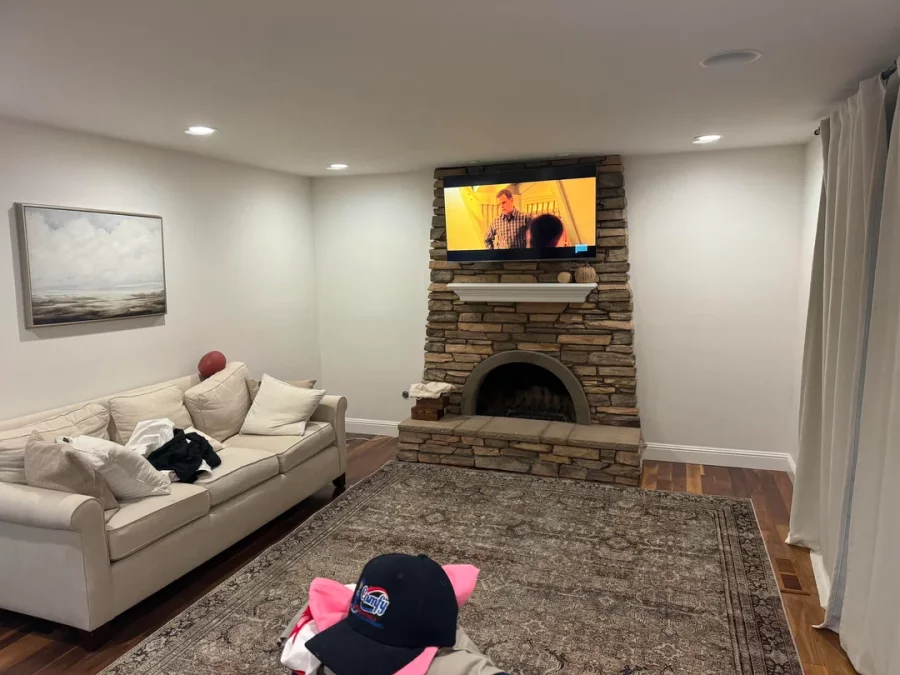
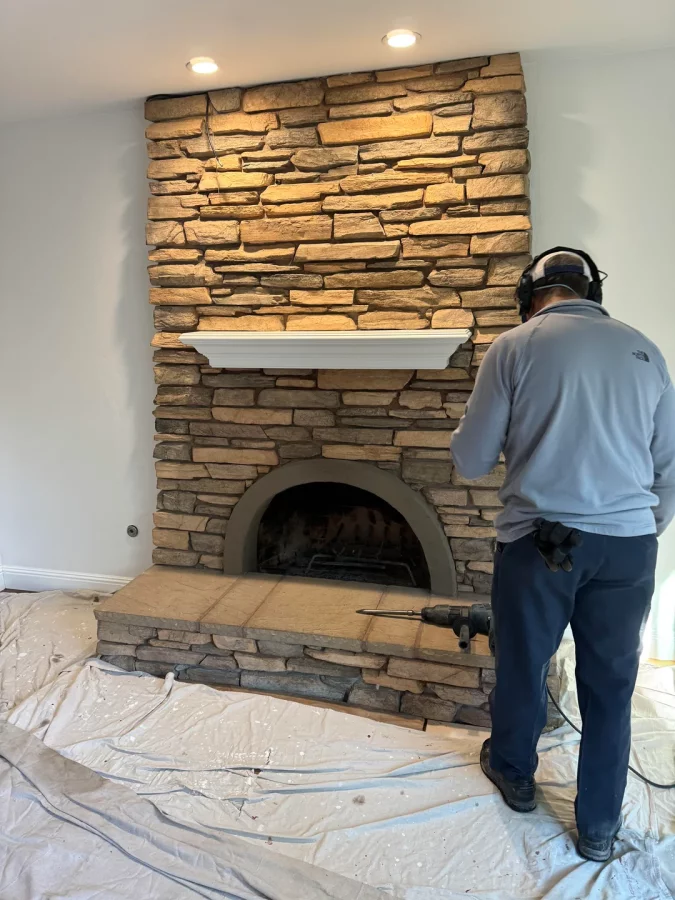
Started with getting rid of the fireplace so our 1 year old and baby on the way wouldn’t hurt themselves on it.
Credit: EastBayRaider510

DIY, Woodworking & More


Build. Share. Get real advice from hands-on makers.

Filter