Look what I found
Member
- Thread Author
- #1
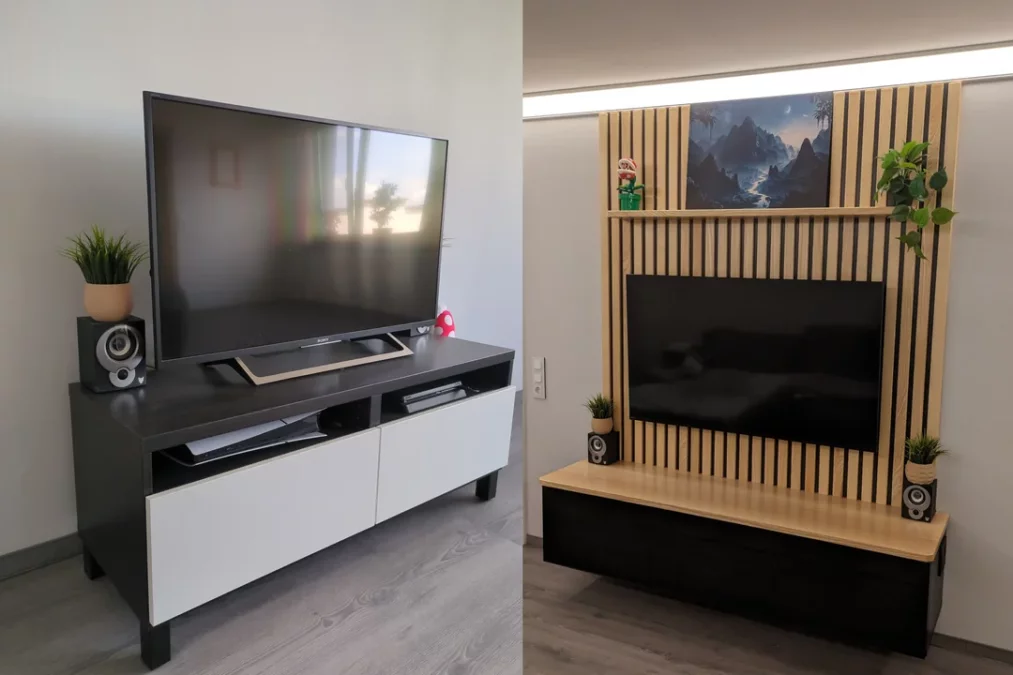
According to iBeryl, his old TV setup had followed him through several moves, always landing in the same familiar configuration. But after moving into a larger home, that once-comfortable setup started to feel out of place — the TV looked too small in the bigger room, the angled legs were a pain to clean around, and the cable clutter was getting on his nerves. So, he decided to build a proper TV wall to fix all of it in one go.
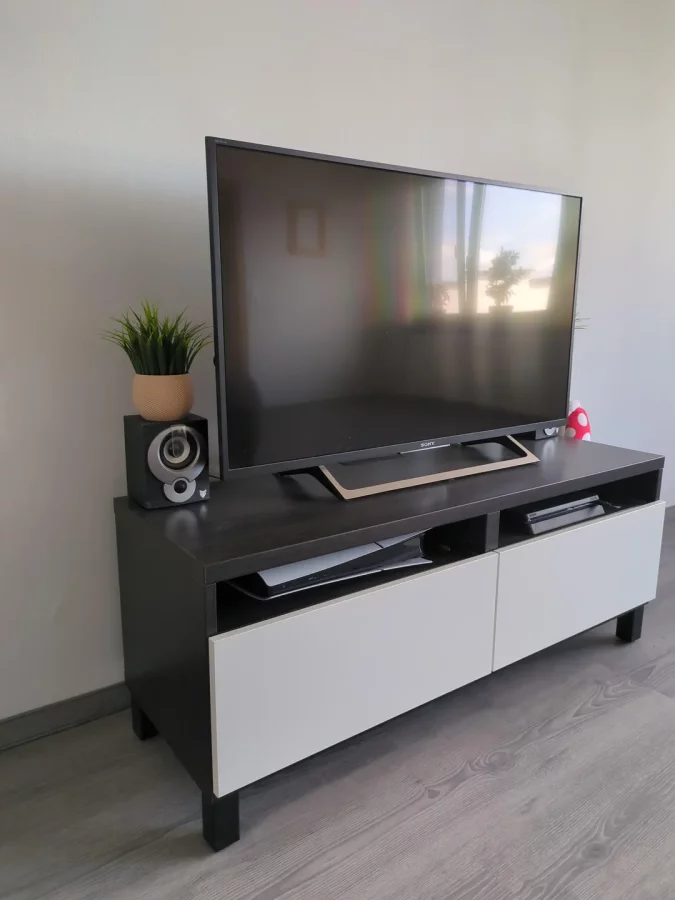
📸 Pic 2: The previous setup used a black Ikea Besta unit, a 42" TV, and speakers that didn’t fit properly, ending up partly behind the screen. Dust was a constant issue, the black surfaces made it worse, and the consoles had trouble staying cool inside the tight space.
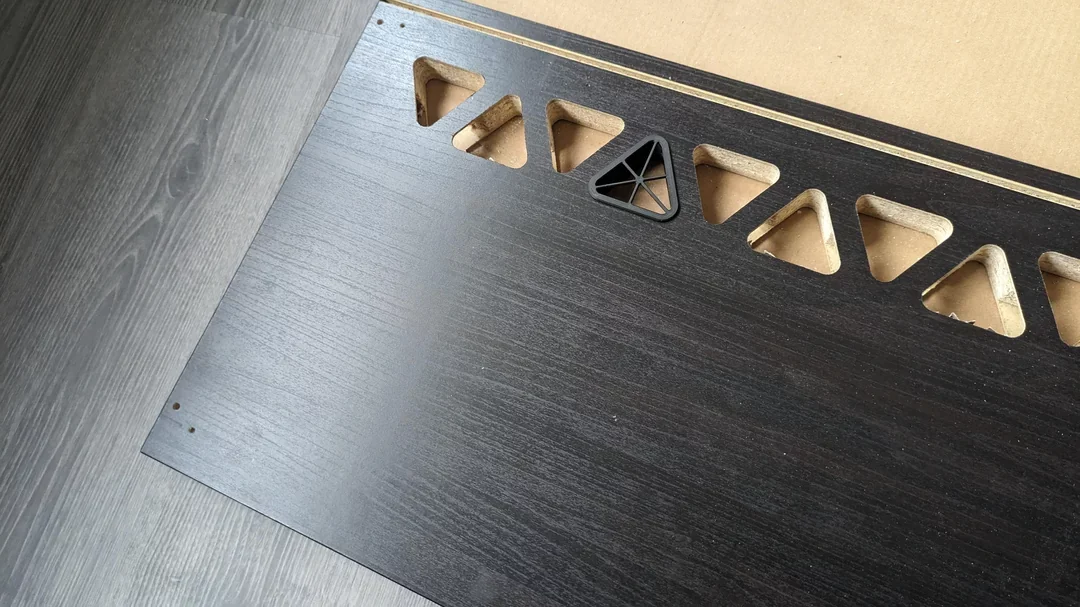
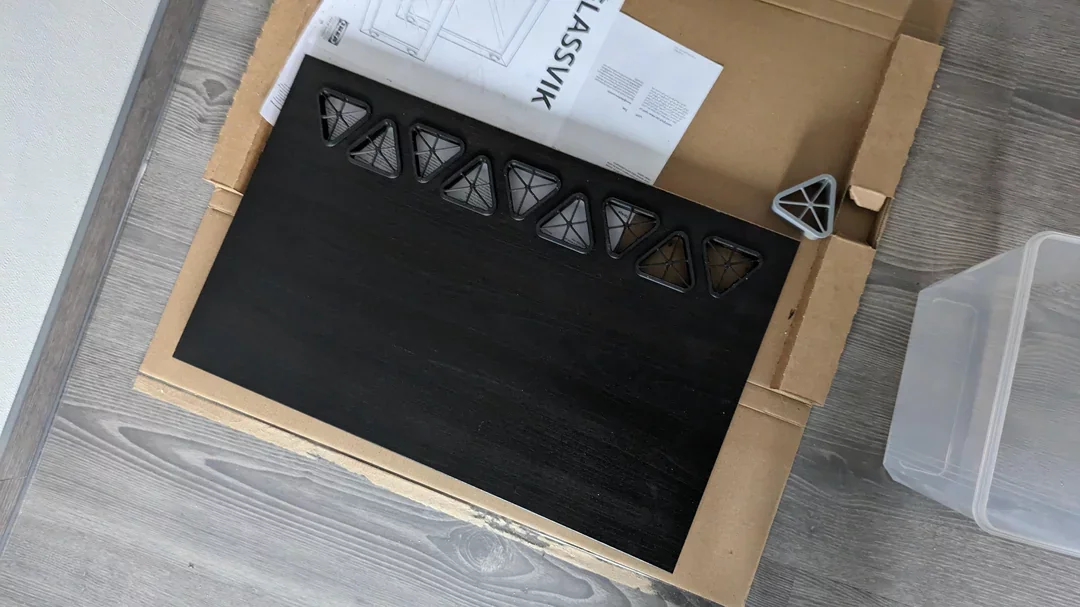
📸 Pics 3–4: He picked up a wider Besta unit — considered building one himself but couldn’t find affordable smoked glass options. He cut out triangles in the bottom panels to allow for airflow, then designed and 3D-printed covers with anti-dust mesh (which, unfortunately, didn’t make it into the photos).
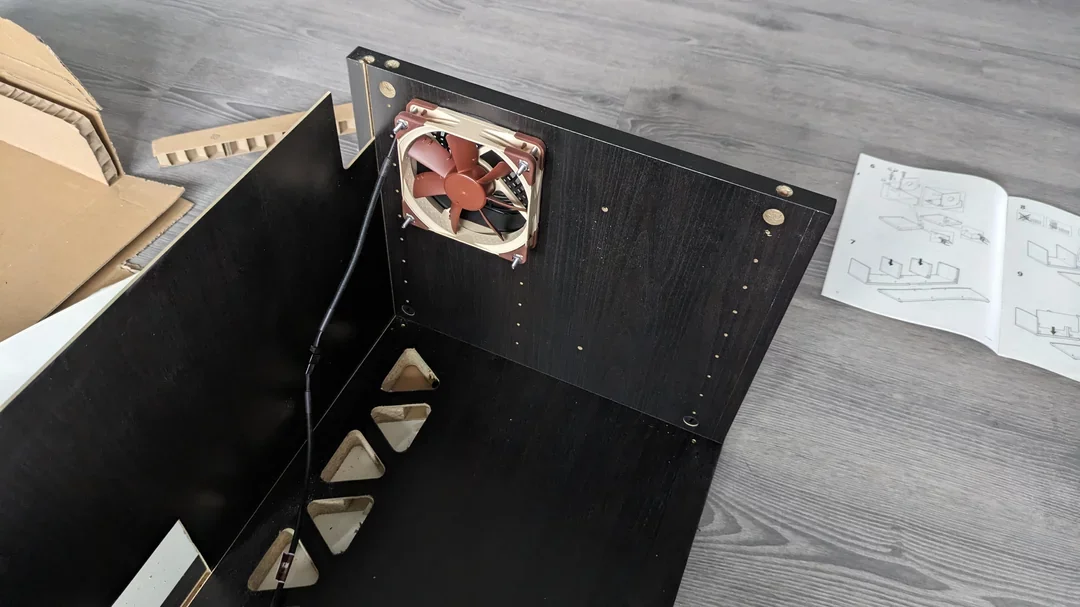
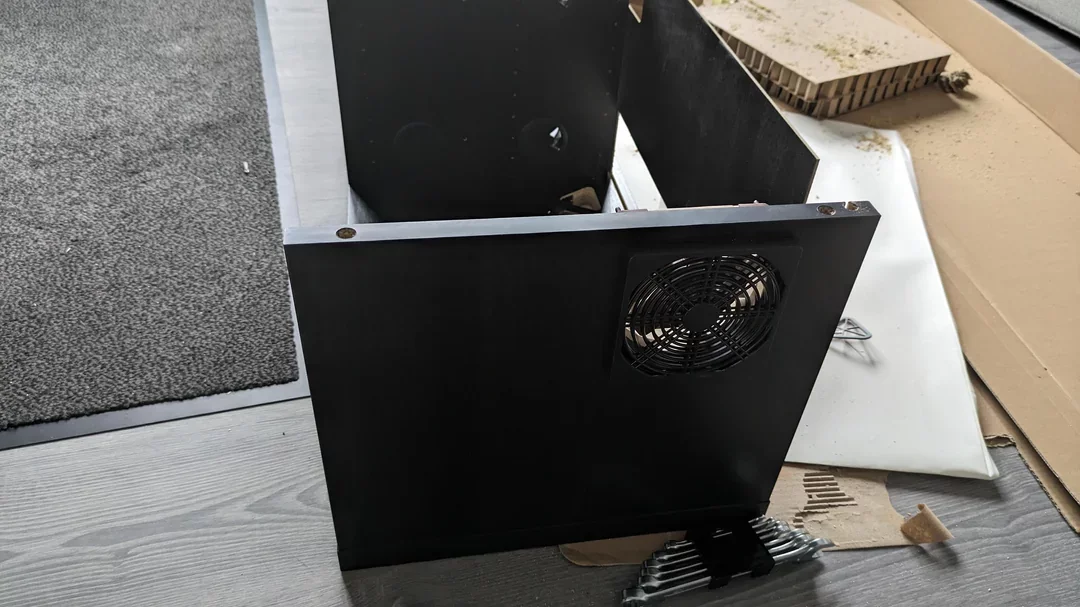
📸 Pics 5–6: Cooling was handled with a pair of Noctua fans installed into the cabinet sides. They’re connected to a temperature sensor and automatically kick in when things heat up. The side cutouts were finished with clean, custom covers.
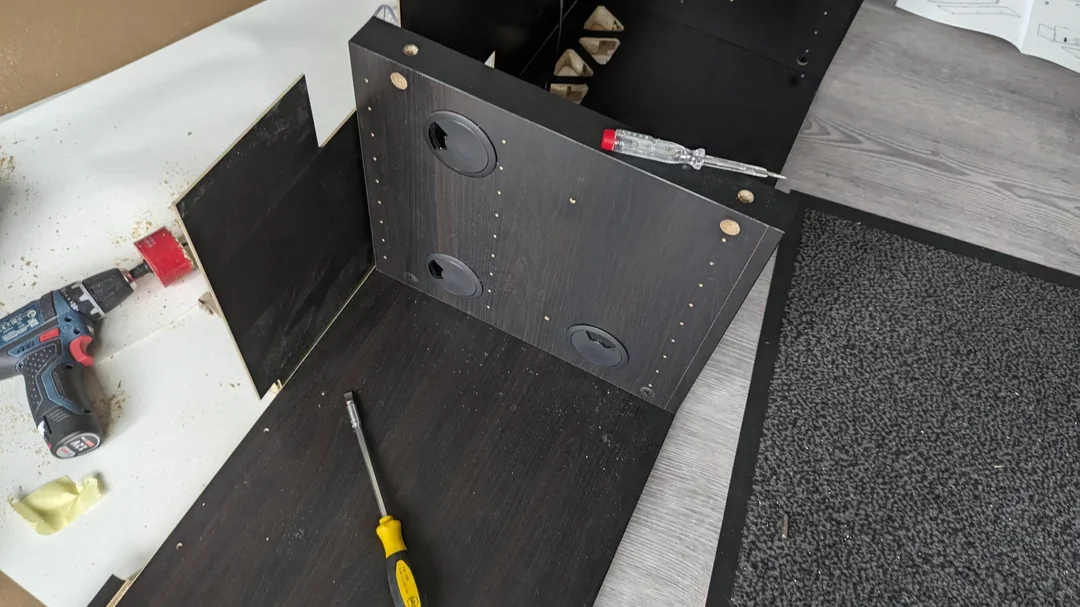
📸 Pic 7: Cable management got a major upgrade with internal wall holes and custom modular covers that let cables pass through while hiding the hollow areas.
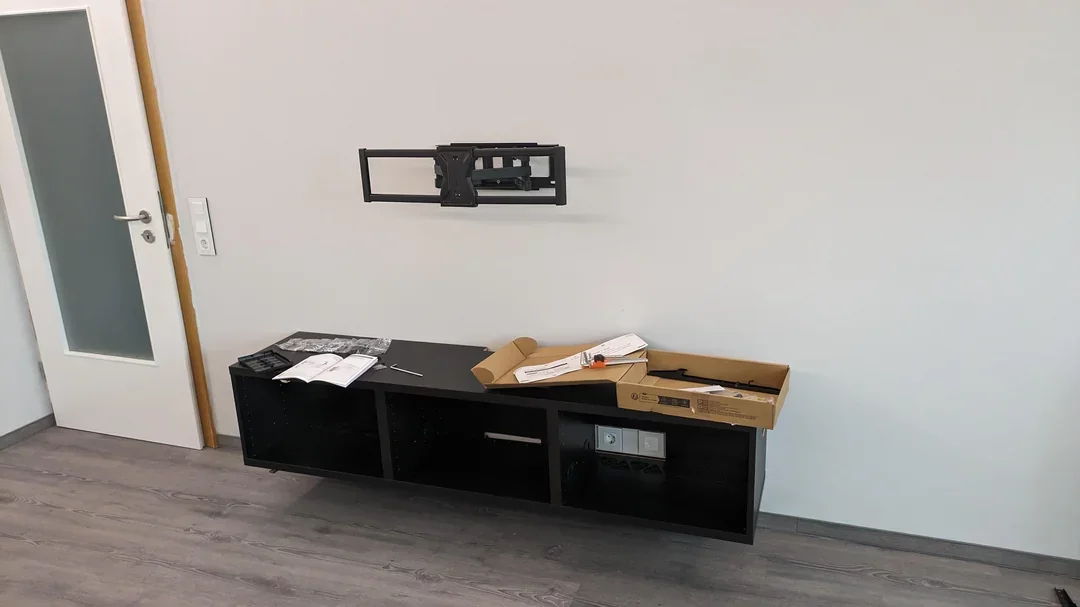
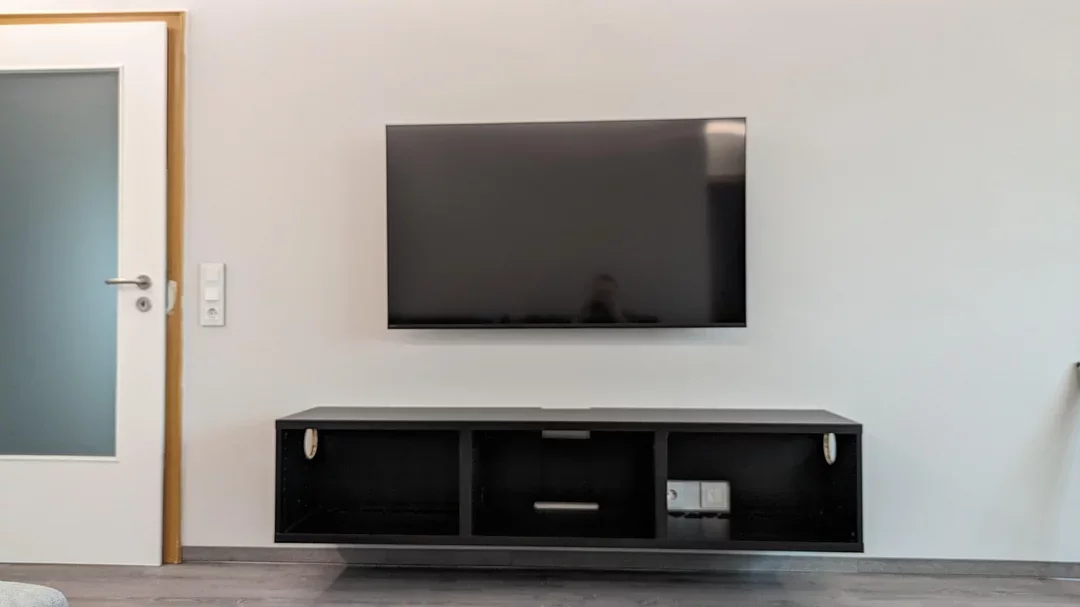
📸 Pics 8–10: The back wall was mounted — socket area cut out, TV bracket installed, and an initial dry fit done. Still, it looked too dark and empty, with cables visible everywhere.
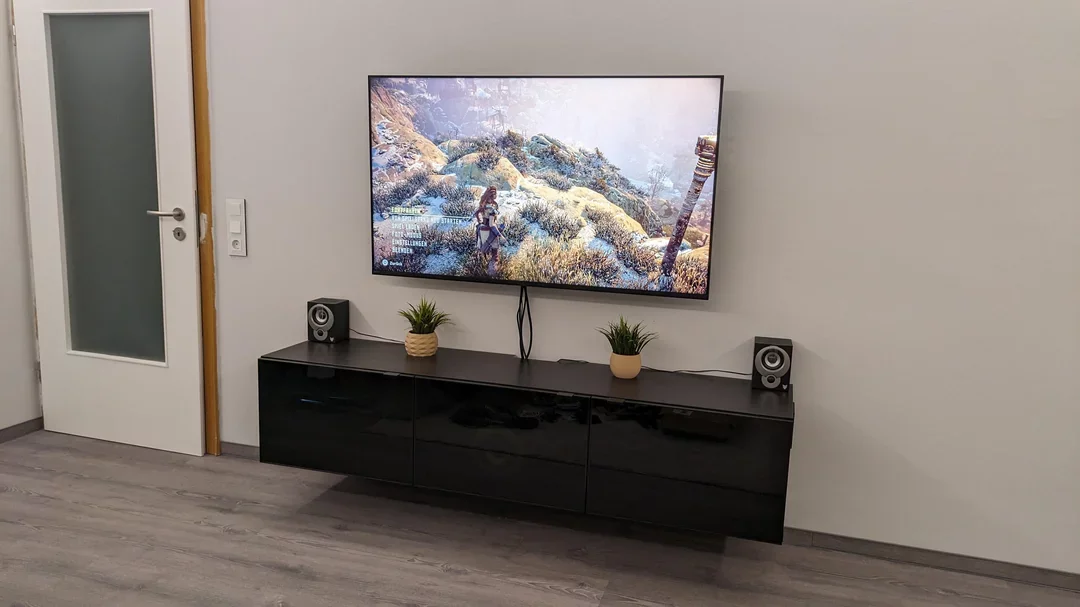
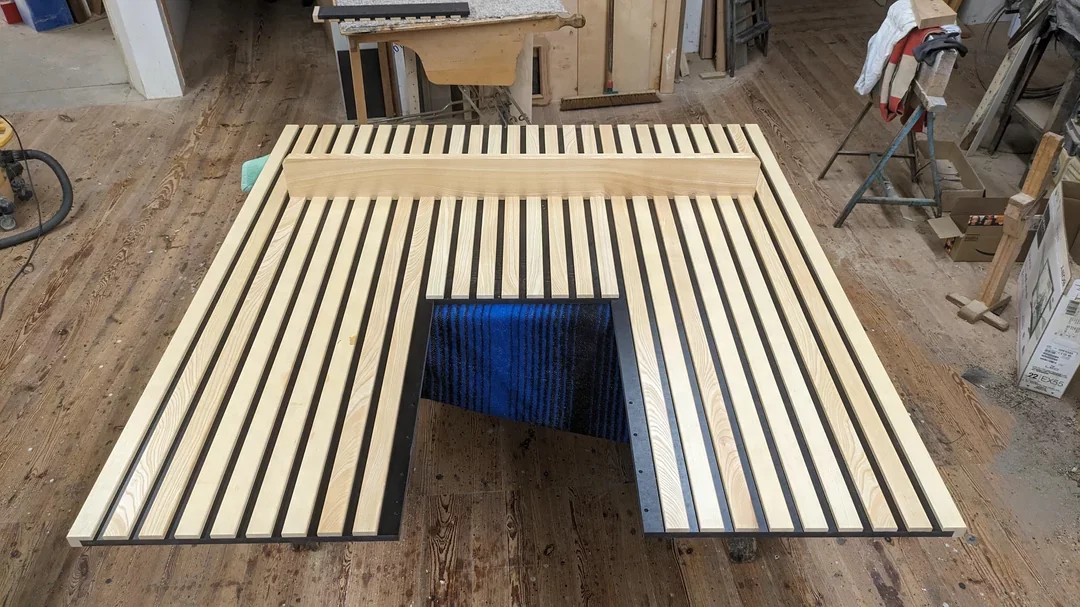
📸 Pics 11–12: To solve that, he made a custom black MDF backboard, divided into three sections with added light-ash wood strips to mimic the look of acoustic panels. A shelf was also added to tie everything together and add strength.
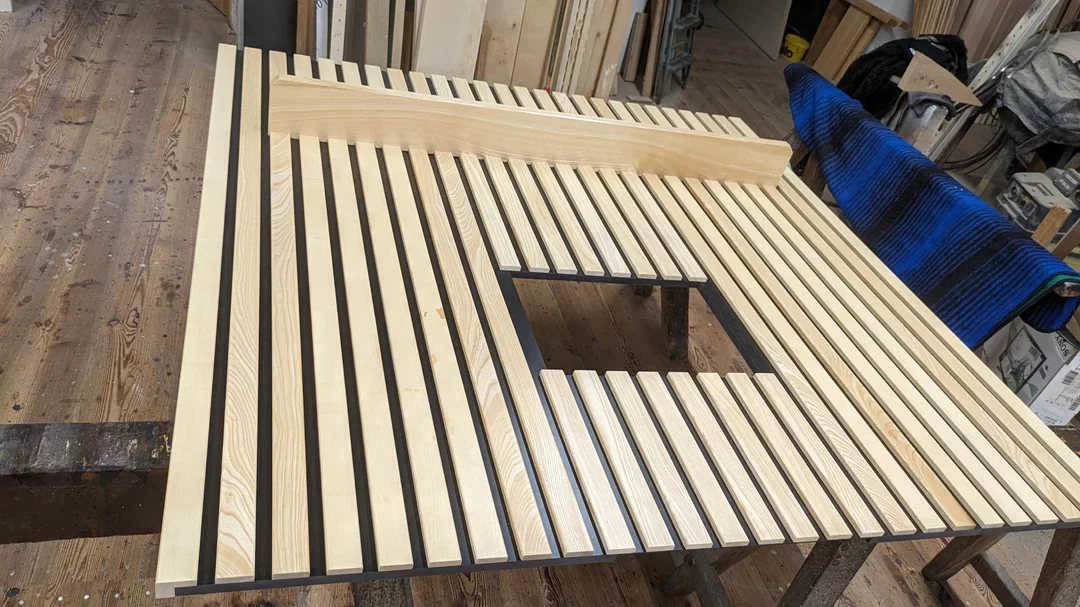
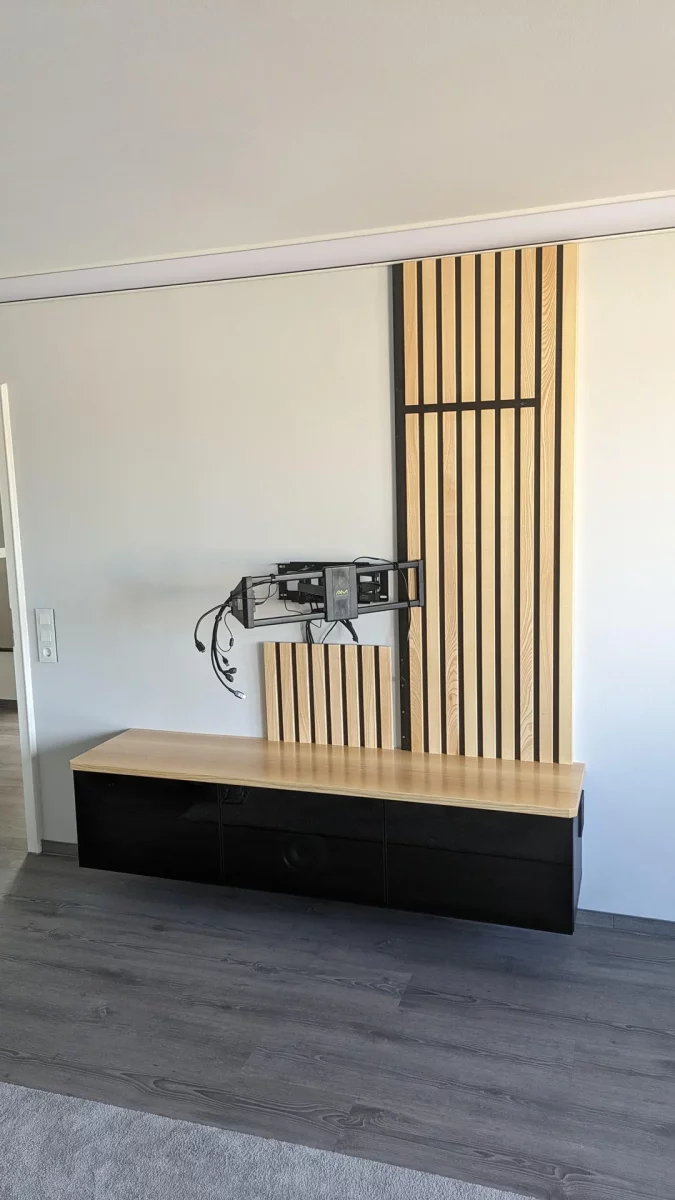
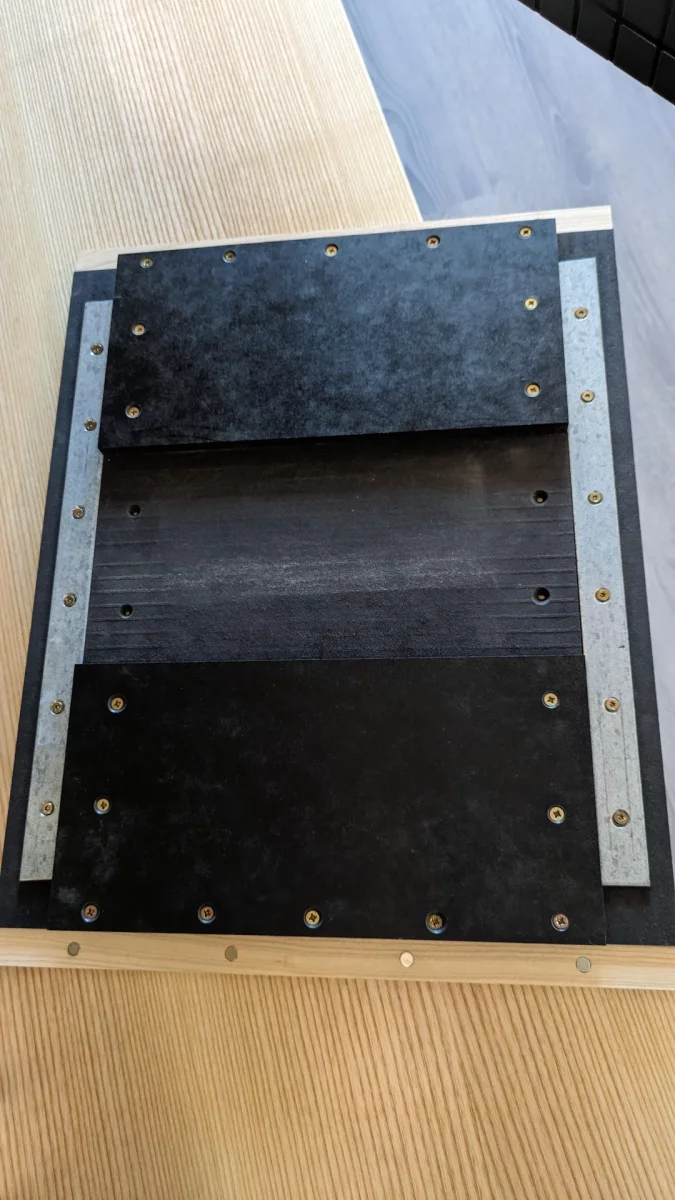
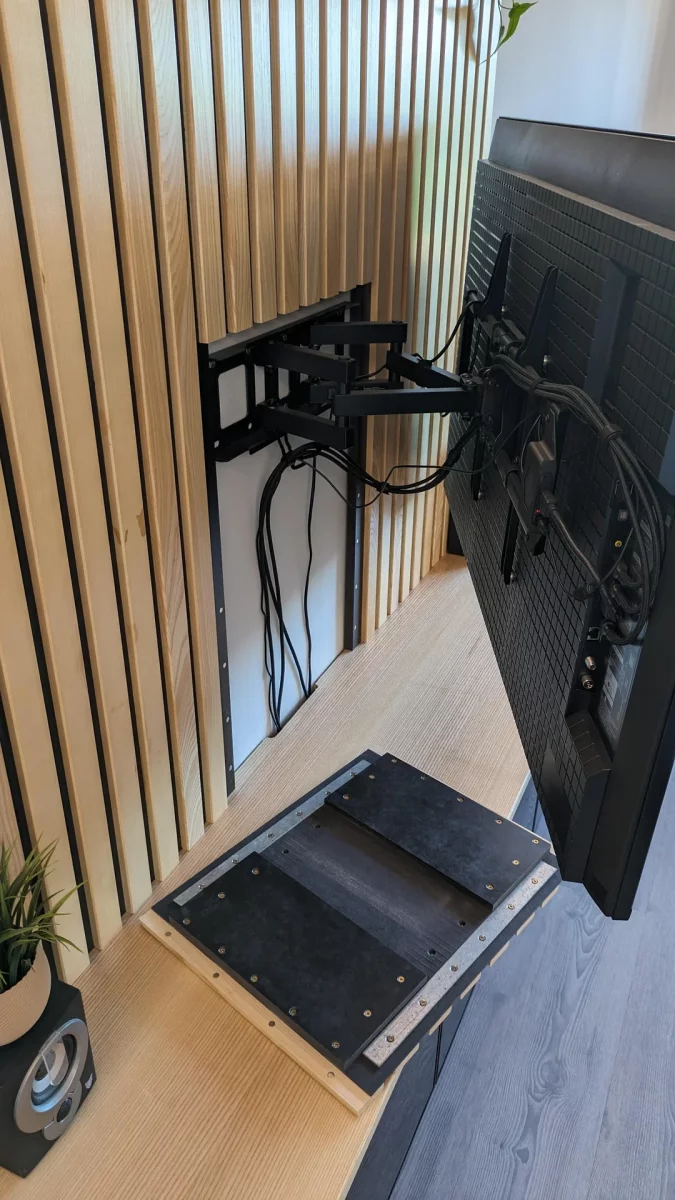
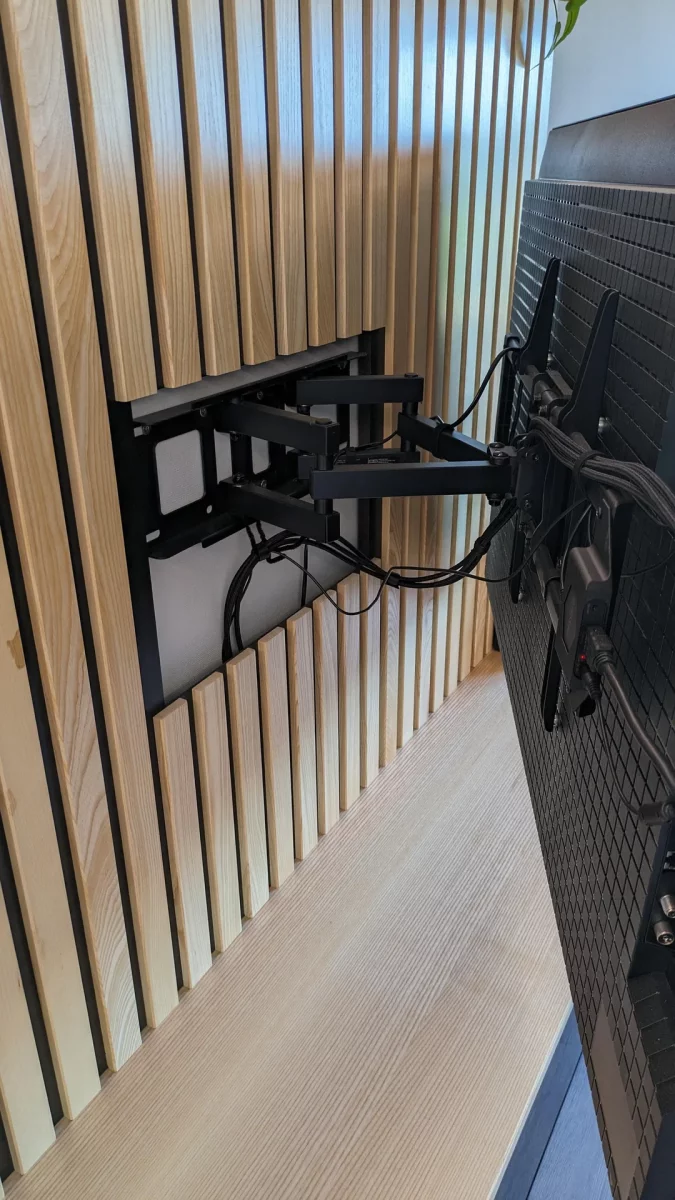
📸 Pics 13–16: He then built a matching light-ash countertop and a black MDF cable cover to hide the mess. Reinforced with metal strips and magnet-mounted, the cover snaps into place cleanly and stays rigid.
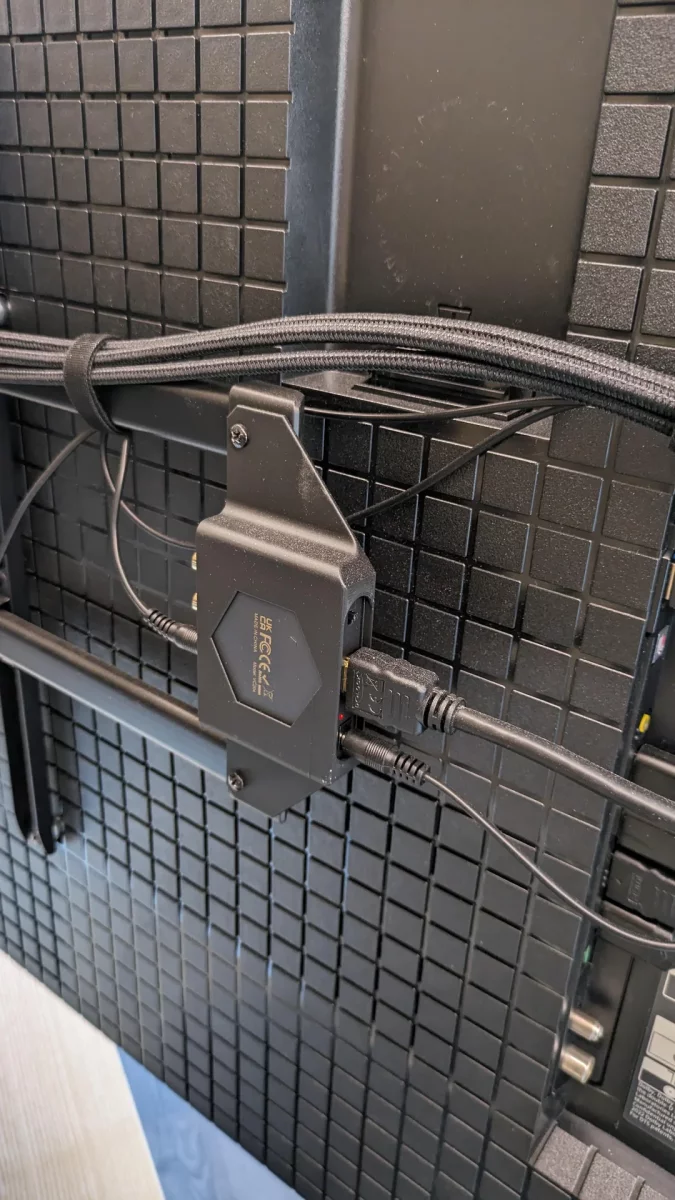
📸 Pic 17: For audio setup, a specific extractor was needed — so he 3D-printed a bracket to mount it invisibly behind the TV.
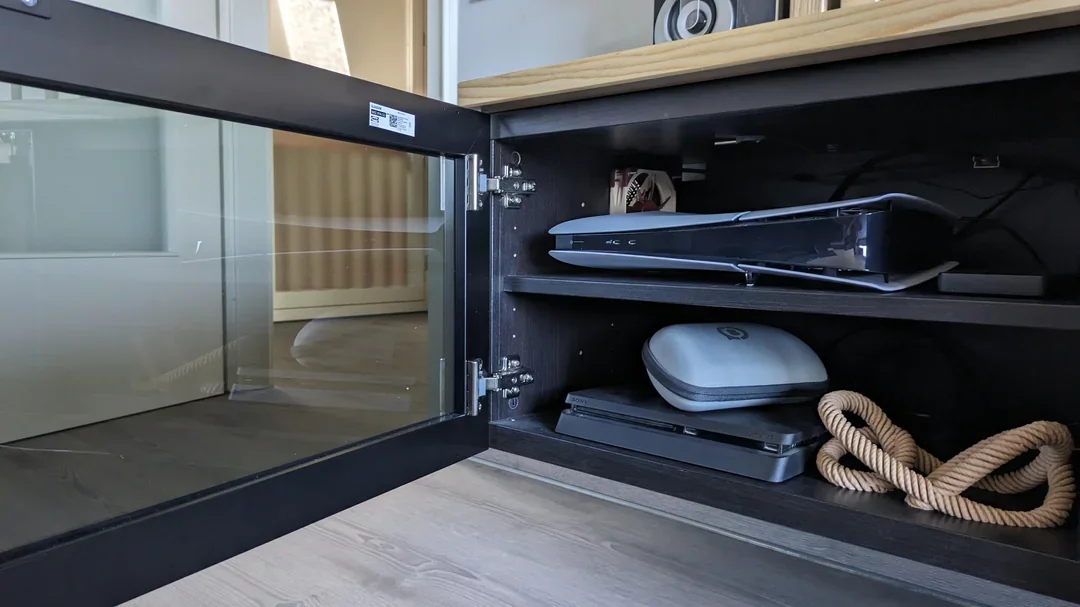
📸 Pic 18: All electronics live inside the cabinet now. Above the PS5 is a heat sensor that activates the fans once it hits 35°C, cooling things down to ~30°C. When powered off, the fans stop at around 27°C — all fully automated.
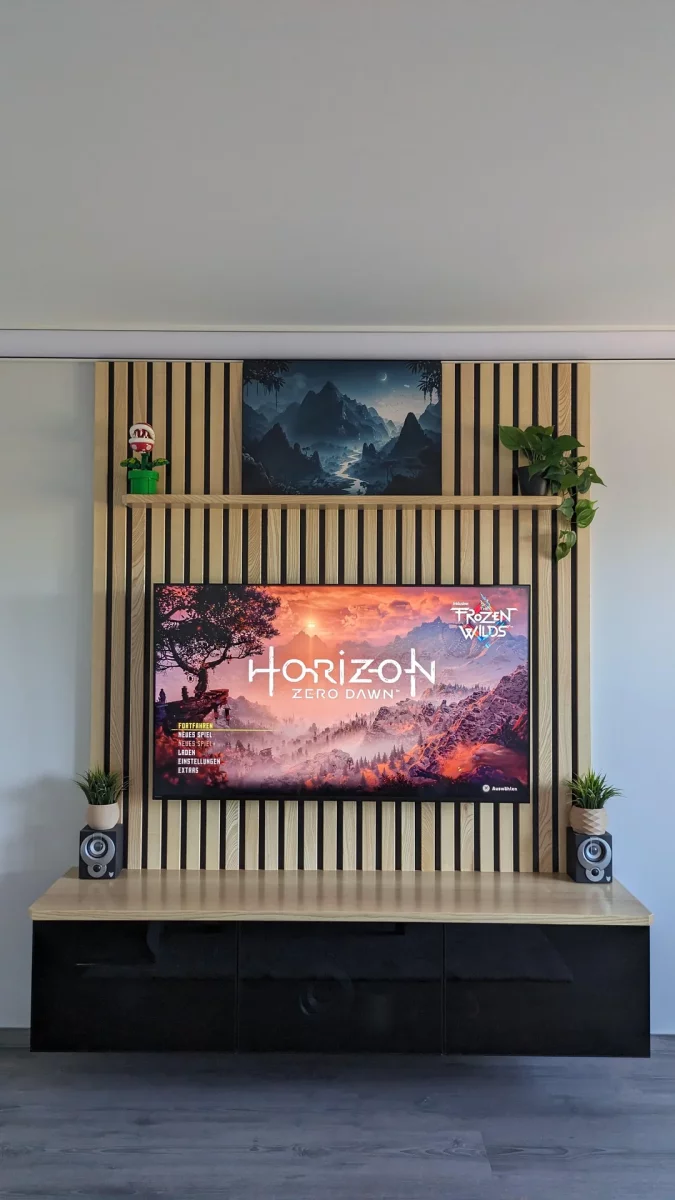
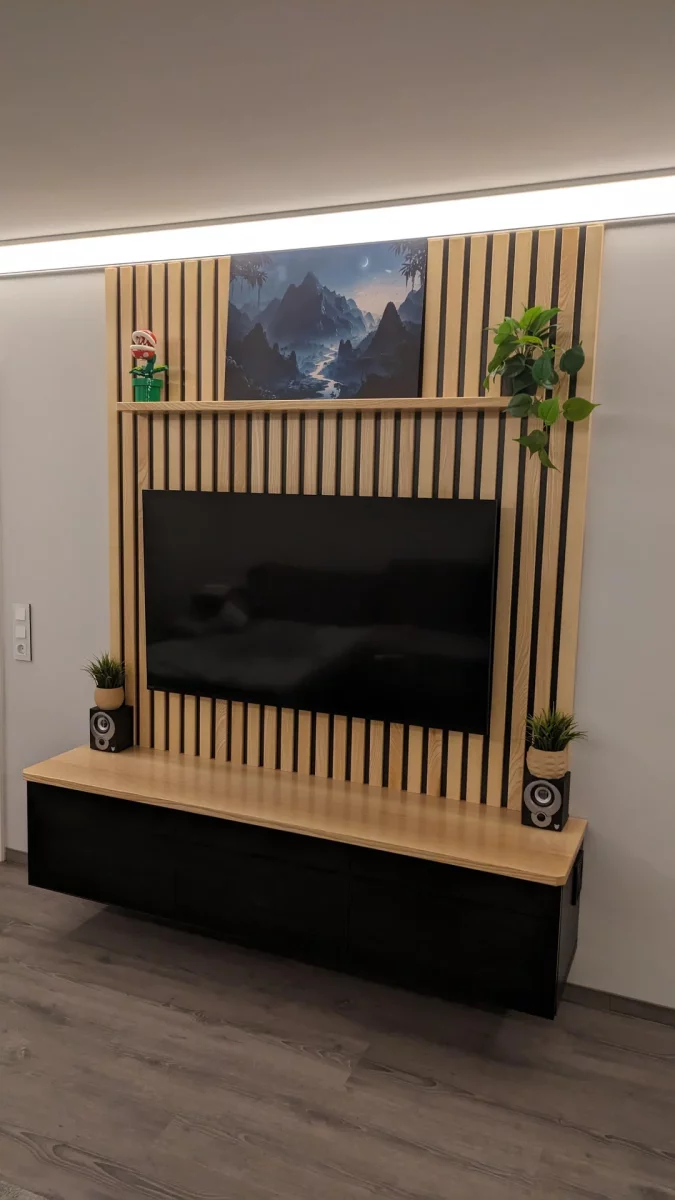
📸 Pics 19–20: The final result: a sleek, modern setup with hidden tech, better airflow, no visible cables, and no clutter on the floor. iBeryl admits he’s still working on decoration, but the core project is done — and the space finally feels like it fits the home.
Credit: iBeryl
Last edited by a moderator:
